

Introduction: Why Home Rainwater Harvesting Matters
Water conservation is a growing concern for homeowners everywhere, especially as utility costs rise and climate patterns become less predictable. One of the most practical and eco-friendly home improvement projects you can tackle is setting up a rainwater harvesting system. Not only can this system reduce your reliance on municipal water, but it can also lower your water bills, provide an emergency supply, and support a healthier landscape. However, diving into rainwater harvesting for the first time comes with a learning curve. From understanding the essential components and budgeting accurately to selecting the right tools and staying on top of maintenance, homeowners need a clear roadmap to avoid wasted effort and costly mistakes. This guide provides a comprehensive, actionable approach to planning, installing, and caring for your home rainwater harvesting system, whether you’re capturing runoff for gardening or supplementing household uses. By the end, you’ll have the confidence and know-how to make your first installation a lasting success.
Understanding Rainwater Harvesting: Key Concepts for Beginners
What is Rainwater Harvesting?
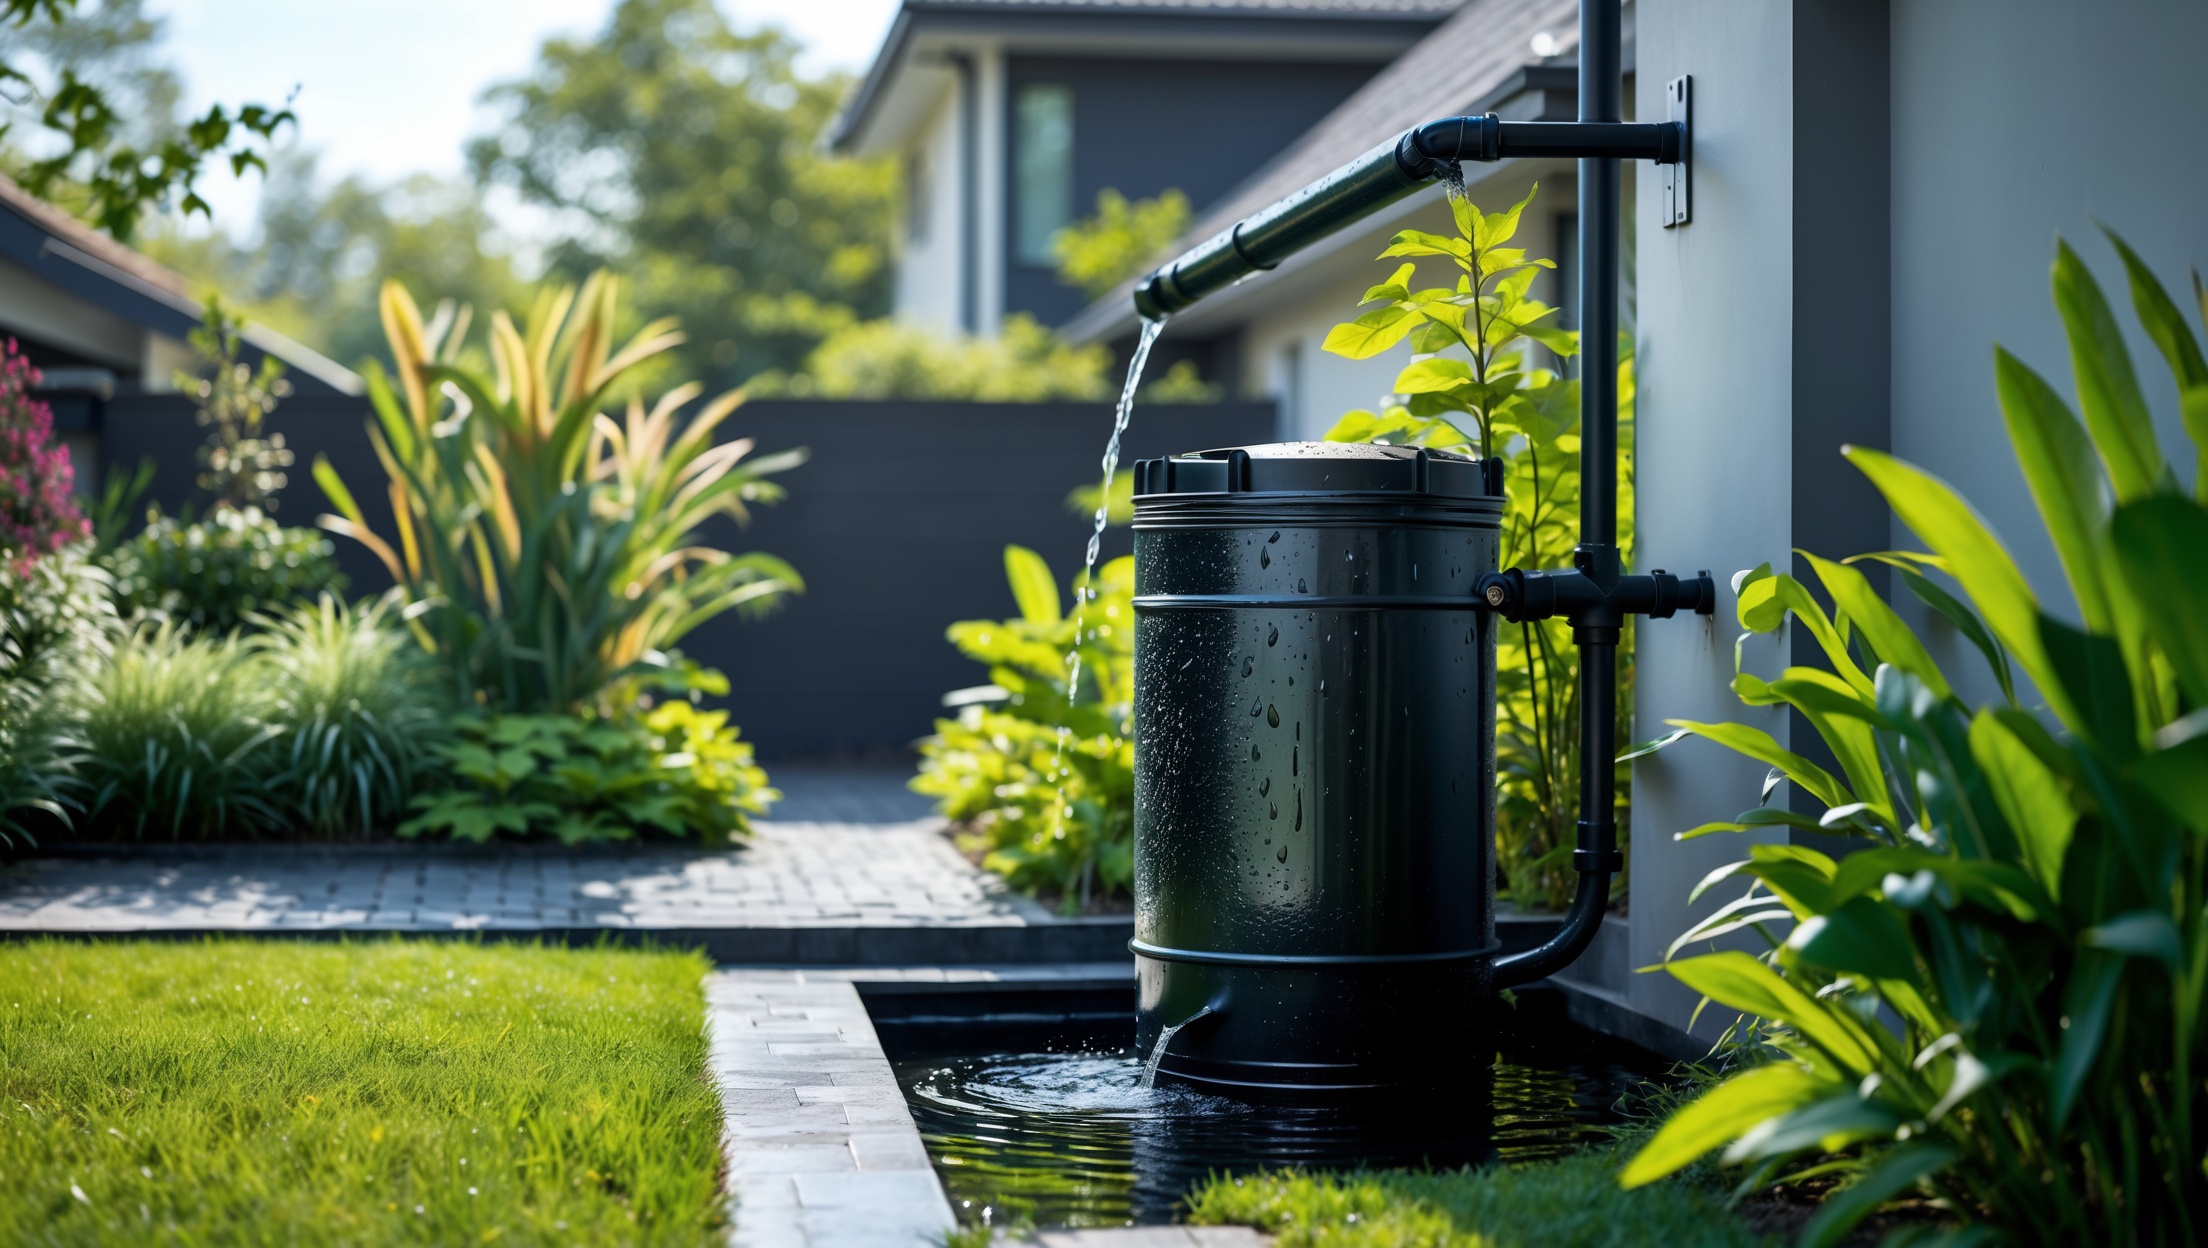
Rainwater harvesting is the process of collecting, storing, and reusing rainwater that falls on your property—usually from rooftops. Systems can be as simple as a barrel hooked up to a single downspout, or as complex as multi-tank setups with filtration for potable use. The most common residential applications include landscape irrigation, washing cars, topping up pools, or even flushing toilets.
Benefits Beyond Water Savings
- Cost Reduction: Decrease your monthly water bill, particularly if you have a large yard or garden.
- Emergency Preparedness: Maintain a water supply during droughts or service interruptions.
- Environmental Impact: Reduce stormwater runoff, which helps prevent erosion and minimizes local flooding.
- Plant Health: Unchlorinated rainwater is often better for sensitive plants than tap water.
Common System Types
- Barrel Systems: Economical and easy to install, suitable for small-scale gardening needs.
- Intermediate Tank Systems: Medium storage capacity, often including basic filtration for broader landscape use.
- Full-Scale Cistern Systems: Large storage, sometimes plumbed into household non-potable supply lines (with advanced filtration).
Budgeting for Your First Rainwater Harvesting System
Cost Breakdown: What to Expect
The cost of a residential rainwater harvesting system can vary widely based on size, complexity, and local prices. Here’s a practical breakdown for a typical first-time installation:
- Rain Barrel (50–80 gallons): $70–$200 each
- Intermediate Poly Tank (200–500 gallons): $400–$1,200
- First-Flush Diverter Kits: $30–$80
- Gutter and Downspout Modifications: $40–$150
- Basic Filtration (screens, mesh): $20–$60
- Overflow and Drainage Materials: $25–$100
- Pump (optional, for pressurized systems): $120–$350
- Installation Tools and Hardware: $50–$150
Total Approximate Cost: $250–$600 for a simple barrel system; $700–$2,000 for intermediate setups. These figures do not include labor if you hire a pro, which can double the total cost.
Budgeting Tips
- Start small and scale up as your confidence (and needs) grow.
- Repurpose existing barrels or use food-grade containers to save money.
- Compare local rebates—many municipalities offer incentives for water conservation projects.
- Factor in recurring maintenance costs, such as filter replacement and seasonal cleaning.
Tools and Equipment Guide: What You’ll Need
Essential Tools for Installation
- Drill with Hole Saw Attachments: For cutting inlet and outlet holes in barrels or tanks.
- Adjustable Wrench and Pliers: For tightening fittings and securing hoses.
- Hacksaw or Pipe Cutter: To modify downspouts or PVC piping.
- Level and Measuring Tape: Ensures tanks are stable and correctly positioned for gravity flow.
- Silicone Sealant: To prevent leaks at all fittings and joints.
- Safety Gear: Gloves and protective eyewear, especially when cutting metal or plastic.
System Components: What to Source
- Storage Tank or Barrel: Choose food-grade plastic or purpose-built rain barrels.
- Inlet Screen or Leaf Guard: Keeps out debris and prevents mosquito breeding.
- First-Flush Diverter: Diverts initial dirty runoff away from your tank.
- Overflow Outlet: Safely redirects excess water away from foundations.
- Spigot or Hose Bib: For water access—brass or heavy-duty PVC recommended.
- Optional Pump: For pressurized irrigation or indoor use.
Pro Tip: Pre-Assembled Kits vs. DIY
First-timers often benefit from pre-assembled kits that include all key components and instructions. However, building your own system from individual parts can be more cost-effective and customizable—just be sure to double-check compatibility between components and local code requirements.
Step-by-Step Setup: Installing Your First System
Site Selection and Preparation
- Choose a location close to a downspout with a stable, level surface.
- Ensure easy access for maintenance and water retrieval.
- Consider overflow drainage—water should flow away from your home’s foundation.
Installation Steps
- Modify the Downspout: Use a hacksaw to cut the downspout to the appropriate height for your barrel or tank. Attach a diverter or elbow to direct water into your storage container.
- Install Inlet Screen: Secure a fine mesh or purpose-designed screen at the water entry point to keep out leaves, insects, and debris.
- Set Up the First-Flush Diverter: This device channels the first few gallons of rain—typically carrying roof dust and contaminants—away from your tank. Follow kit instructions or DIY plans.
- Fit the Storage Tank or Barrel: Position your tank on a flat, stable base (concrete pavers or a raised platform work well) to improve gravity flow and prevent tipping.
- Install Overflow Outlet: Direct overflow water via a hose or PVC pipe to a safe drainage area, away from structures.
- Add Spigot or Pump (if needed): Drill and fit a spigot for easy water access, sealing all joints to prevent leaks. If using a pump, follow manufacturer installation guidelines.
- Test and Adjust: Run water through the system to check for leaks and proper flow. Adjust fittings and seals as needed.
Maintenance Best Practices for Longevity
Routine Inspection Checklist
- Monthly: Check screens and filters for debris; remove and clean as needed.
- After Heavy Rain: Inspect for overflow, leaks, or cracked seals.
- Quarterly: Flush out the bottom of the tank to remove sediment buildup.
- Seasonally: Test spigots and pumps; clean out first-flush diverters.
- Annually: Fully drain and scrub the inside of tanks or barrels to prevent algae and bacterial growth.
Preventing Common Issues
- Algae Growth: Use opaque tanks and site them in shaded areas to reduce sunlight exposure.
- Mosquitoes: Always maintain tight-fitting screens at inlets and outlets.
- Winterizing: In freezing climates, drain and disconnect barrels in late fall or use frost-resistant tanks with proper insulation.
- Foundation Safety: Routinely check that overflow water is not eroding the soil near your home.
Compliance and Safety Considerations
Local Regulations and Permits
Many municipalities encourage rainwater harvesting, but some regions have restrictions or require permits, especially for large-capacity systems or those connected to indoor plumbing. Check with your local building department before you begin. Common requirements include:
- Backflow prevention devices for systems tied to household plumbing.
- Minimum setback distances from property lines or structures.
- Approved materials for storage tanks and piping.
Safety Practices
- Never store rainwater in containers that previously held chemicals.
- Secure tanks to prevent tipping, especially in high-traffic or windy areas.
- Label non-potable rainwater outlets to prevent accidental drinking.
- Keep access points locked or covered if you have children or pets.
Case Study: A Real-World First-Time Installation
Project: 250-gallon rainwater harvesting tank for backyard garden irrigation in a suburban home in Austin, Texas.
- Materials Used: Pre-assembled poly tank, first-flush diverter, leaf guard, overflow hose, brass spigot, concrete paver base.
- Total Cost: $675 (after $100 municipal rebate).
- Time Invested: 6 hours over a weekend (DIY install by homeowner and a friend).
- Challenges: Adjusting the base for perfect level, sourcing a compatible diverter kit, and ensuring overflow drained away from a nearby fence line.
- Results: 1,800 gallons collected over the first spring; water bill reduced by 18% compared to the previous year.
- Lessons Learned: Always double-check downspout measurements and consider overflow routes during the planning stage.
Frequently Asked Questions
- Can I drink harvested rainwater? Not without advanced multi-stage filtration and disinfection. Most home systems are for irrigation or outdoor use only.
- How much rainwater can I expect to collect? Every 1,000 square feet of roof collects about 600 gallons per inch of rainfall, assuming minimal losses.
- Do I need a pump? Not for basic barrel systems using gravity, but a pump is required for sprinkler irrigation or indoor supply.
- Are there tax credits or rebates? Many regions offer rebates for water conservation—check your city or county website.
Conclusion: Setting Yourself Up for Success
Installing your first home rainwater harvesting system is an investment in sustainability, self-sufficiency, and long-term savings. By understanding the key components, budgeting carefully, and choosing the right tools for your project scale, you set yourself up for a smooth installation process. Thoughtful site preparation, solid installation practices, and consistent maintenance are the backbone of a trouble-free system that serves your needs for years to come.
While the upfront outlay—both in cost and effort—can seem daunting, the benefits quickly become tangible. Homeowners routinely report not only lower water bills but also a deeper sense of stewardship over their property and resources. Remember to check local regulations before you begin, and don’t hesitate to seek advice from professionals or local gardening groups if you hit a snag. Most importantly, start with a manageable system that fits your current needs and confidence level. As your familiarity grows, so can your system—modular upgrades and expansions are always possible.
Whether you’re driven by savings, environmental consciousness, or simple curiosity, a rainwater harvesting system is a project that pays dividends far beyond its initial cost. With the right planning and persistent care, your first installation will not only meet your immediate needs but also inspire future home improvement endeavors rooted in smart, sustainable living.