

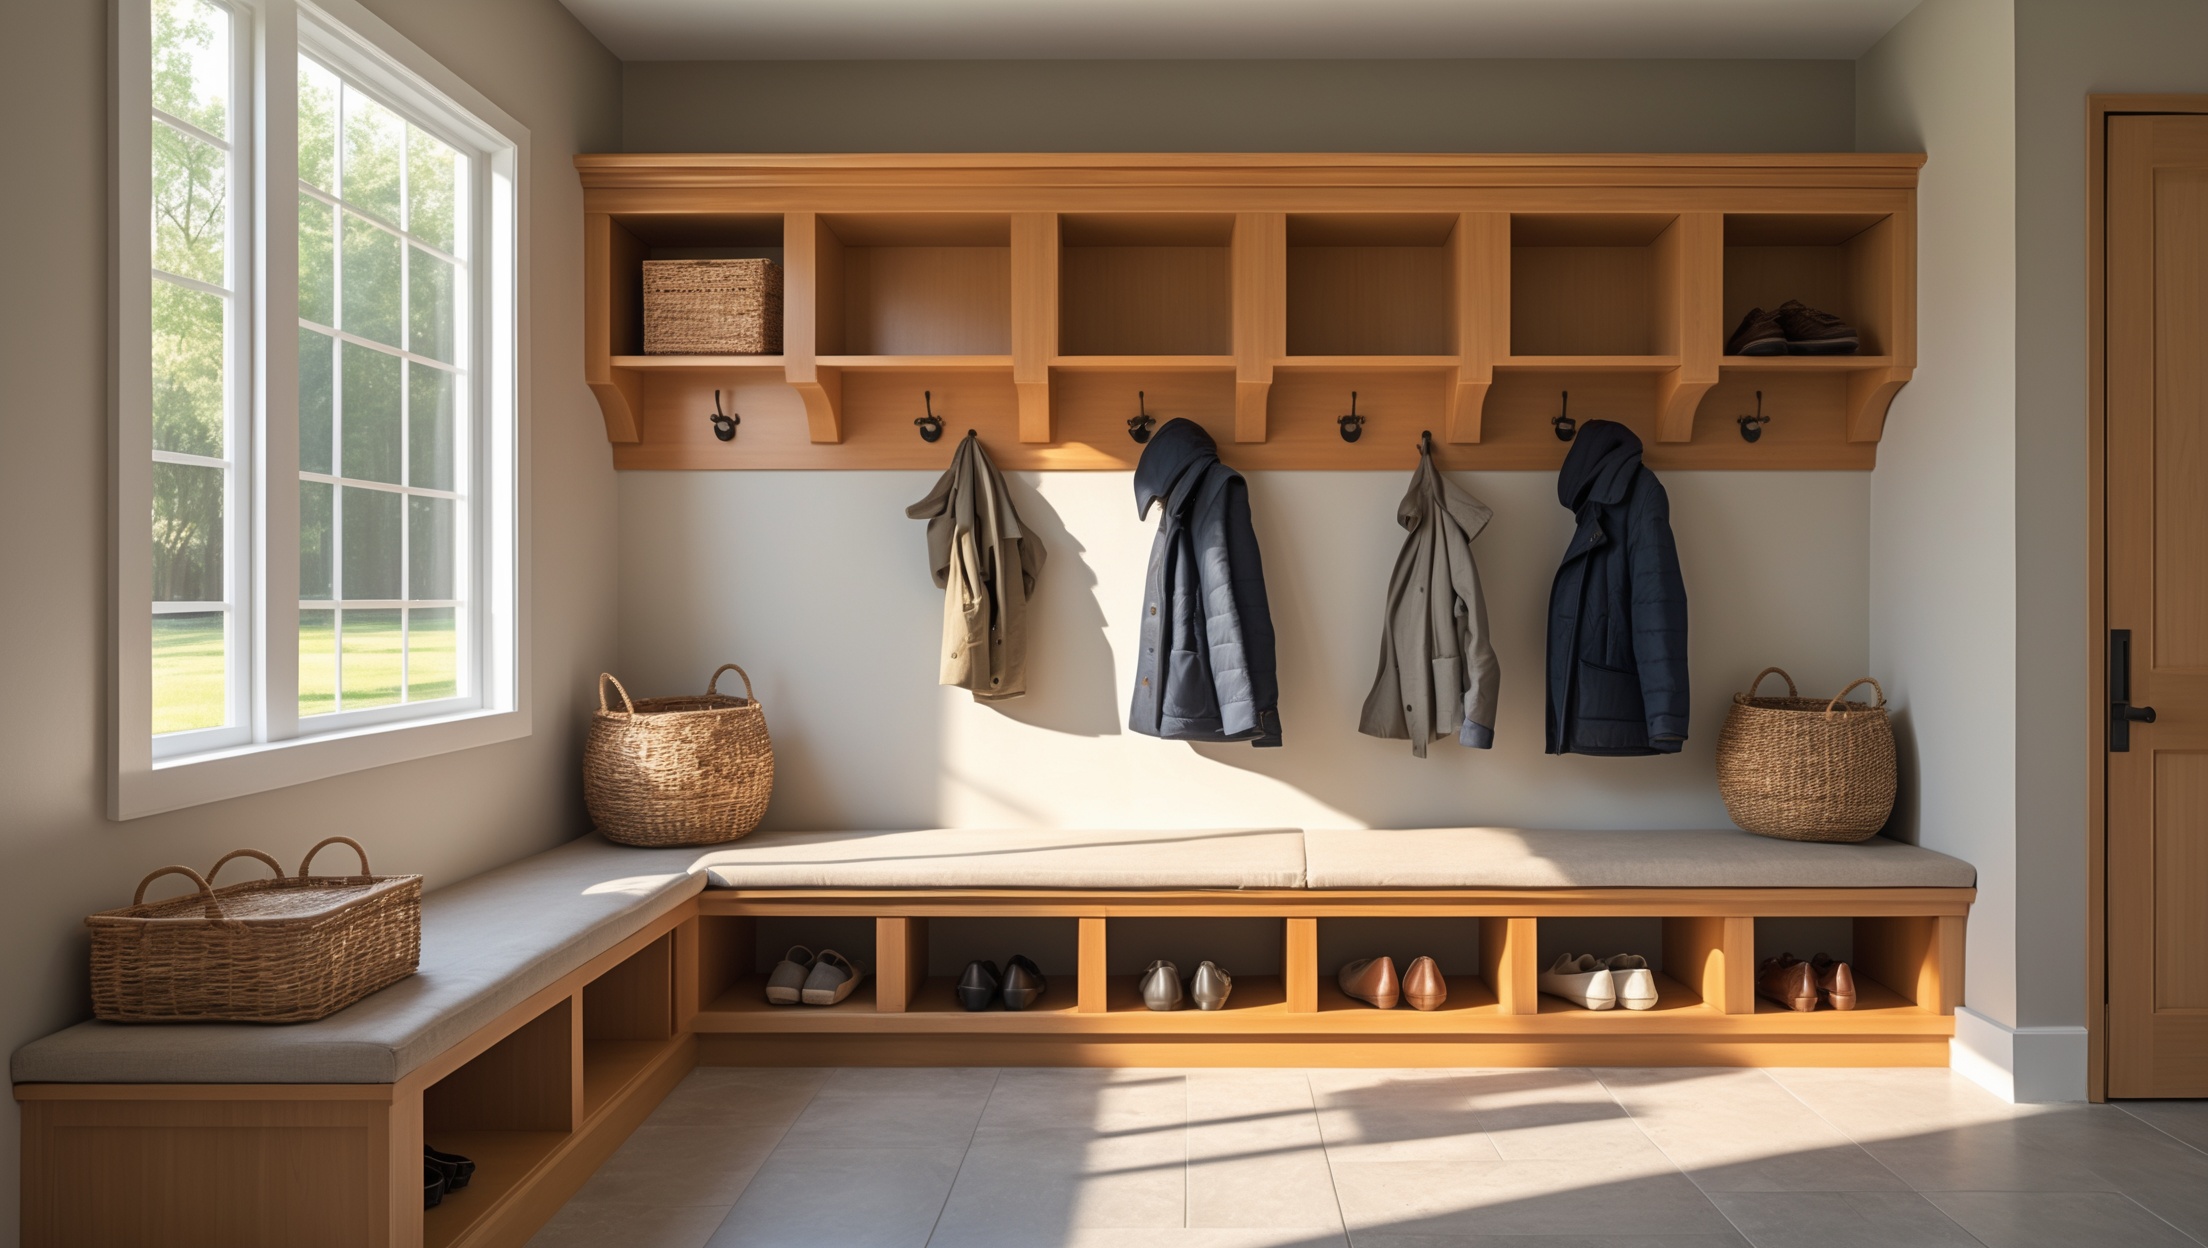
Introduction: Why Every Home Needs a Mudroom
Homeowners everywhere are discovering the transformative power of a well-designed mudroom. No longer just a rural necessity, mudrooms have become essential for keeping homes organized, clean, and efficient—regardless of climate or family size. A mudroom acts as a transition zone, catching dirt, moisture, and clutter before they make their way into your living spaces. Whether you’re dealing with muddy boots, kids’ sports gear, or an ever-growing collection of coats and bags, a dedicated mudroom can save you hours of cleaning and help maintain your home’s value.
But creating a mudroom isn’t just about slapping some hooks on the wall. It’s a strategic project that requires planning, budgeting, and smart use of space. Whether you have an empty nook, a side entry, or a full room to dedicate, building a functional mudroom is a rewarding DIY project that pays off daily. In this step-by-step tutorial, we’ll guide you through designing, constructing, and maintaining a mudroom tailored to your household’s needs. You’ll get a clear cost breakdown, detailed tool list, practical design advice, and expert tips for keeping your mudroom organized for the long haul. Ready to reclaim your entryway and banish clutter for good? Let’s get started!
Planning Your Mudroom: Key Considerations
Assessing Your Space
Before you start sketching designs or buying lumber, take inventory of the space you have. Mudrooms can range from a dedicated room to a section of hallway or even a transformed closet. Consider these questions:
- Location: Where do you and your family most often enter the house? The main entry, garage, or a side door?
- Size: How much square footage can you allocate? At minimum, aim for a 4’x6’ area for a functional setup.
- Traffic Flow: Make sure your mudroom won’t bottleneck daily routines. Leave enough clearance for doors and foot traffic.
Defining Functionality
List the activities and storage needs your mudroom must address:
- Coat and bag storage
- Shoe and boot organization
- Pet supplies
- Sports equipment
- Laundry drop zone
- Mail, keys, and charging station
Prioritize your list, as not every function will fit every space.
Budgeting and Cost Breakdown
Costs can vary widely, influenced by room size, built-in features, and material choices. Here’s a realistic breakdown for a mid-range DIY mudroom (approx. 5’x7’):
- Framing lumber and drywall: $120–$300
- Paint and primer: $50–$100
- Flooring (tile or luxury vinyl): $150–$500
- Built-in cubbies/benches (DIY plywood): $200–$400
- Hooks, hardware, baskets: $60–$200
- Lighting fixture: $50–$150
- Miscellaneous (caulk, screws, trim): $50–$100
Total estimated cost: $630–$1,750. Labor costs are avoided if you DIY, but hiring a contractor can add $1,000–$3,000 depending on complexity.
Essential Tools & Materials
Tool Checklist
- Measuring tape and level
- Stud finder
- Circular saw or miter saw
- Cordless drill and bits
- Hammer or nail gun
- Screwdrivers
- Paint brushes and rollers
- Tile cutter (if installing tile)
- Caulk gun
- Safety gear: gloves, goggles, mask
Recommended Materials
- Moisture-resistant drywall or cement board (for high-traffic, wet areas)
- Plywood or MDF for built-ins
- Heavy-duty hooks and hardware
- Durable, easy-to-clean flooring (porcelain tile, luxury vinyl, or sealed concrete)
- Paint with washable finish (eggshell or satin)
- Weather-resistant trim
- Baskets or storage bins
Step-by-Step Mudroom Setup Tutorial
1. Demolition and Prep
Clear the area of all furniture, baseboards, and old flooring. If you’re working with drywall, patch holes and prime the walls. For garage conversions, check for moisture issues and address them before proceeding.
2. Flooring Installation
Choose a flooring material that stands up to mud, water, and heavy foot traffic. Tile and luxury vinyl plank are top choices. Remove old flooring if needed, ensure a level subfloor, and lay new tiles or planks according to manufacturer instructions. Seal grout lines or seams to prevent water intrusion.
3. Built-In Storage Construction
- Bench: Build a sturdy bench frame using 2×4 lumber. Attach a plywood or MDF top, and anchor the frame securely to wall studs.
- Cubbies: Cut plywood to size for vertical and horizontal dividers. Fasten together with screws and wood glue, ensuring square corners. Secure cubbies to the wall above or beside the bench.
- Hooks: Mark stud locations and install heavy-duty hooks for coats and bags, spacing them about 8–10 inches apart.
- Shoe Storage: Create open shelves below the bench or use wire baskets for easy cleaning. Designate one section per family member if possible.
4. Wall Finishing and Painting
Patch nail holes, sand the walls, and apply primer. Use a durable, scrubbable paint finish. Consider adding beadboard or shiplap for extra style and durability.
5. Lighting and Power
Install a bright, energy-efficient overhead fixture. If possible, add an outlet for charging stations or small appliances (like a boot dryer). Ensure all electrical work meets local code; hire a licensed electrician if you’re unsure.
6. Accessories and Organization
- Baskets for hats, gloves, pet leashes
- Wall-mounted mail sorter and key rack
- Tray or mat for wet boots
- Mirror for last-minute checks
- Seasonal storage bins on upper shelves
Label storage for clarity, especially in busy households.
Design Tips for an Efficient, Stylish Mudroom
Maximizing Small Spaces
- Use vertical storage: tall cubbies, overhead shelves, wall hooks
- Install a fold-down bench or wall-mounted shelf if floor space is tight
- Opt for lighter paint colors to enhance natural light
Durable, Low-Maintenance Materials
- Waterproof flooring extends longevity and simplifies cleaning
- Choose hardware with rust-resistant finishes
- Consider semi-gloss paint for easy wipe-downs
Personalization and Family Needs
- Assign cubbies or hooks with names or photos for each household member
- Pet owners: include a towel hook, treat bin, and space for leashes
- Sports gear: deep bins or a tall locker for equipment storage
Compliance, Permits, and Insurance Considerations
When Permits Are Needed
Most basic mudroom upgrades (painting, installing hooks, adding shelves) do not require permits. However, you may need a permit if:
- Adding or moving electrical outlets or fixtures
- Removing or building walls
- Expanding the home’s footprint
- Changing plumbing (e.g., adding a utility sink)
Check with your local building department before starting any structural, electrical, or plumbing work.
Insurance Tips
- Notify your insurer if you make major structural changes or convert a garage space
- Keep receipts and document progress for future claims or resale
Maintenance Best Practices for Long-Term Organization
Daily and Weekly Tasks
- Wipe down benches, cubbies, and floors to prevent dirt buildup
- Shake out and clean doormats regularly
- Return stray items to their designated spot each day
Monthly and Seasonal Checks
- Inspect hooks, shelves, and hardware for wear or loosening
- Clean and rotate seasonal gear (swap out hats and gloves for sunscreen and water bottles)
- Check for water damage, especially around doors and windows
- Replenish supplies: pet bags, shoe deodorizers, etc.
Annual Deep Clean
- Empty all bins and cubbies for a thorough cleaning
- Touch up paint as needed
- Inspect flooring and reseal grout or seams if necessary
Common Mudroom Setup Mistakes—and How to Avoid Them
- Underestimating Storage Needs: Plan for more storage than you think you’ll need—clutter accumulates fast.
- Choosing the Wrong Flooring: Carpeting is a recipe for disaster; stick to waterproof, easy-clean options.
- Ignoring Moisture Issues: Always address leaks or condensation before finishing walls or floors.
- Installing Weak Hardware: Use heavy-duty hooks and sturdy anchors to handle heavy bags and coats.
- Poor Lighting: A dim mudroom is an uninviting one. Prioritize good overhead and task lighting.
Conclusion: Your Path to a Tidy, Stress-Free Home Starts Here
Building a mudroom is more than just a home improvement project—it’s an investment in daily calm, cleanliness, and efficiency. By following the steps outlined in this guide, you’ll create a space that works as hard as you do, stopping dirt, clutter, and chaos at the door. With a smart design and the right materials, even a small or awkward space can be transformed into a functional hub for your family’s comings and goings.
Remember, the success of your mudroom hinges on careful planning and a willingness to adapt as your household’s needs evolve. Don’t be afraid to personalize your setup, and commit to regular upkeep to keep your space looking and functioning its best. A well-executed mudroom not only preserves your floors and furniture, it can also boost your home’s value and appeal should you ever decide to sell.
Ready to tackle the clutter once and for all? Gather your tools, set your budget, and get started on a mudroom that will serve your family for years to come. The daily difference is remarkable—and you’ll wonder how you ever lived without this simple, powerful upgrade to your home.