

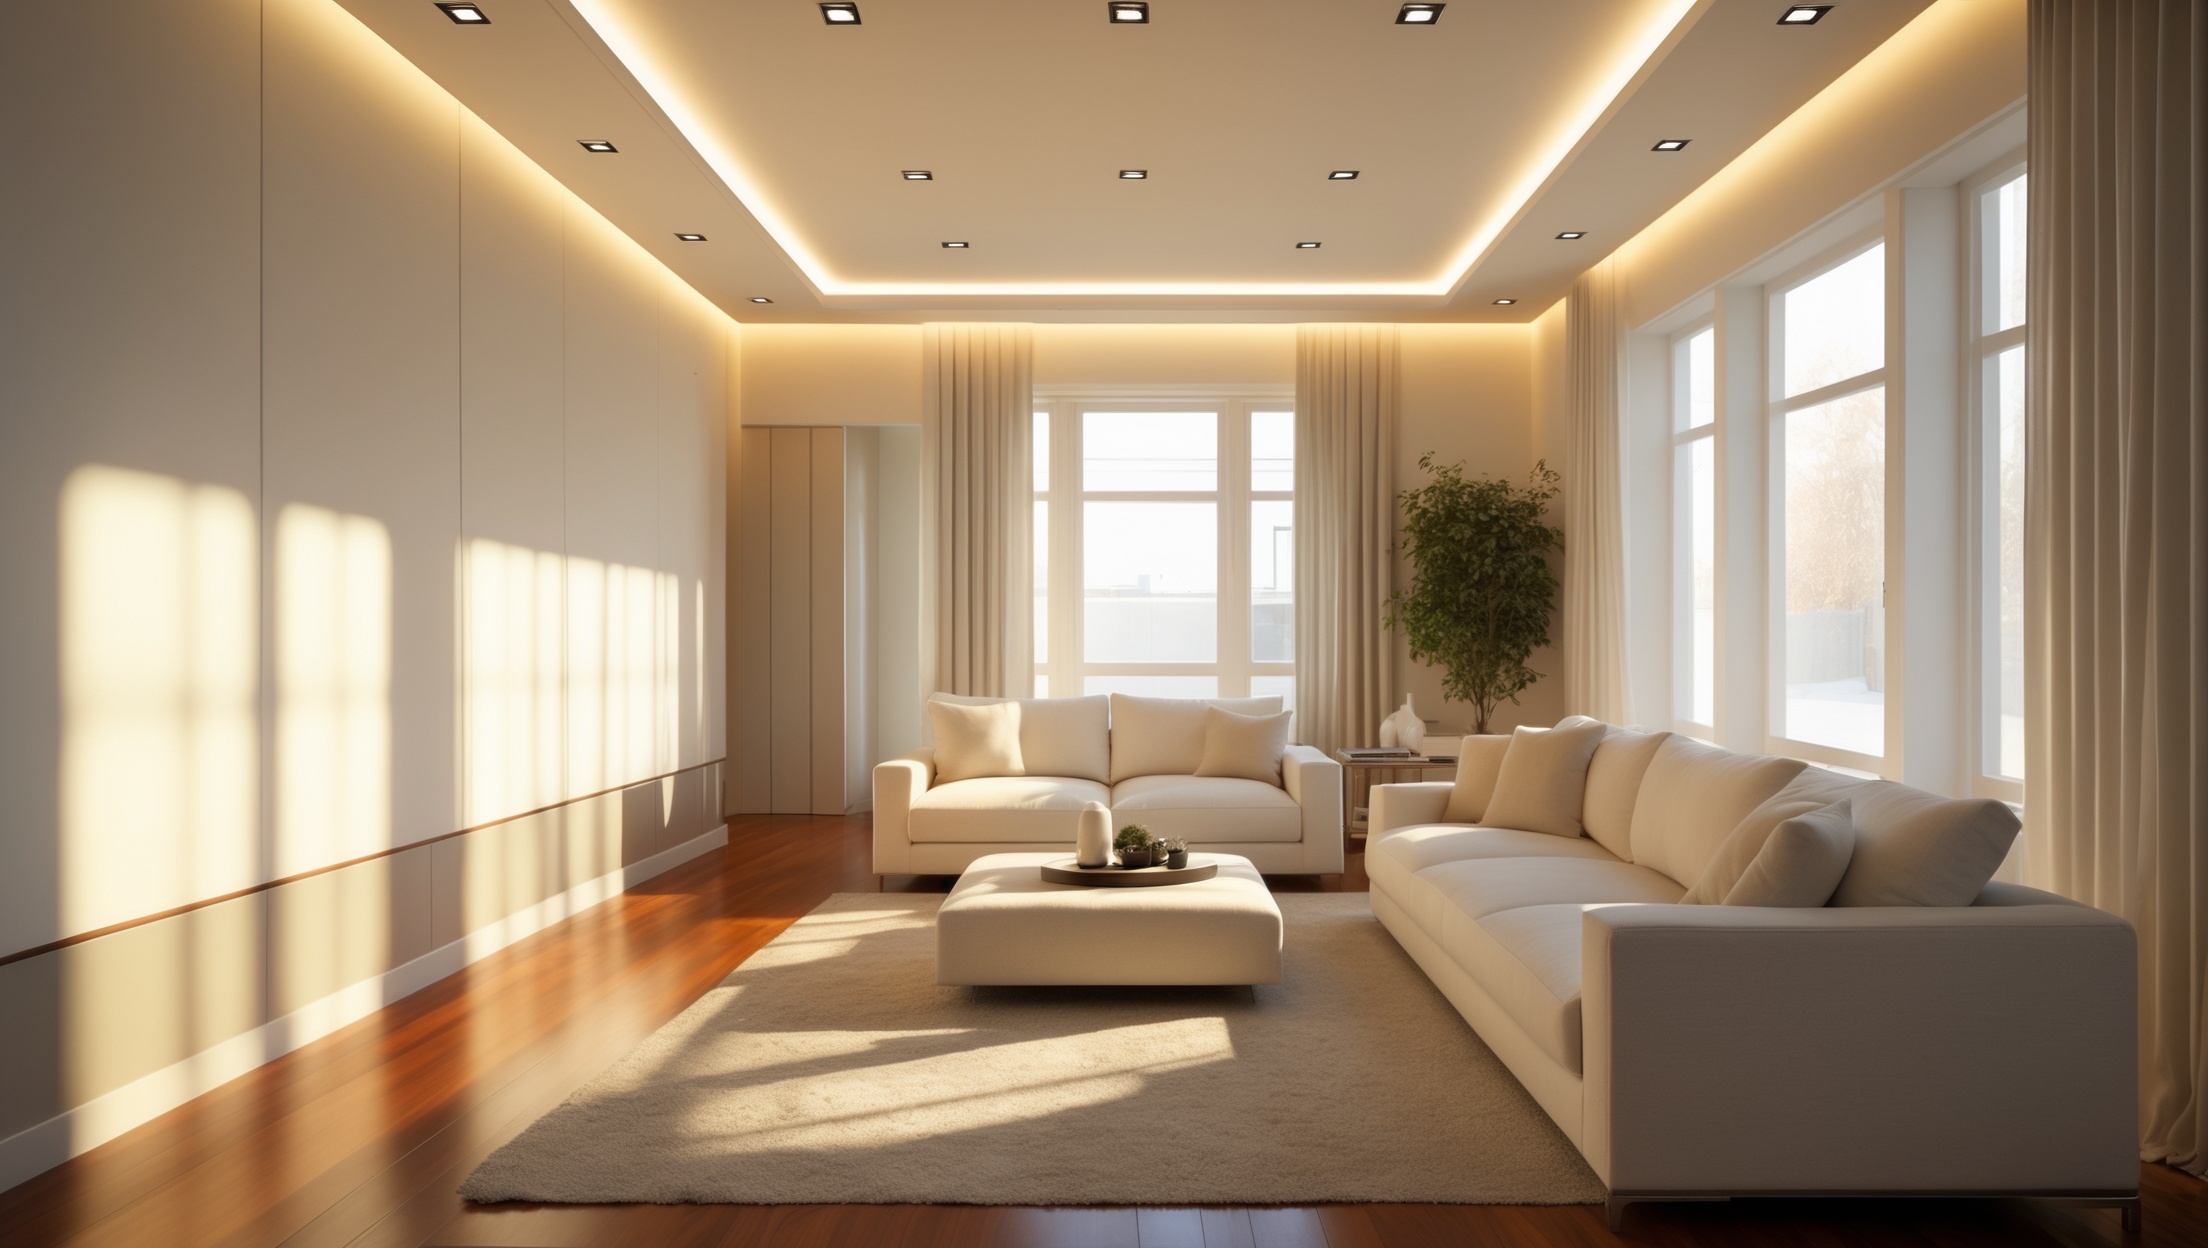
Introduction: Why Upgrade to Recessed Lighting?
Recessed lighting—also known as can lights or downlights—has become a popular choice for homeowners seeking to modernize their living spaces. Unlike traditional fixtures, recessed lights offer a streamlined appearance, distributing light evenly and creating a warm, inviting ambiance. For living rooms, they can accentuate architectural features, highlight artwork, or simply provide a clean, uncluttered ceiling. However, installing recessed lighting isn’t just about aesthetics. Properly planned and installed, these fixtures can improve energy efficiency, increase property value, and make day-to-day living more enjoyable. This comprehensive guide walks you step-by-step through the entire process: from planning your layout to wiring, cutting, and safely securing your new lights. Whether you’re an experienced DIYer or a careful beginner, you’ll find practical advice, safety tips, and troubleshooting solutions to ensure a smooth installation. Let’s transform your living room lighting—one can at a time.
Planning Your Recessed Lighting Project
Assessing Your Living Room’s Lighting Needs
Before purchasing fixtures or cutting into your ceiling, evaluate your living room’s size, ceiling height, existing wiring, and intended lighting purpose (ambient, task, or accent). Walk through your room at different times of day to note natural light sources, dark corners, and focal points (such as a fireplace or TV area). Sketch your layout, marking furniture placement and any architectural features.
Determining Quantity and Placement of Lights
- General Rule: For 8-foot ceilings, space recessed lights 4 to 5 feet apart. For higher ceilings, increase spacing slightly.
- Perimeter Lighting: Place fixtures 2 to 3 feet away from walls to avoid harsh shadows.
- Accent Areas: Add focused lights above reading nooks, artwork, or shelving.
- Symmetry: Ensure lights are evenly spaced for a balanced look. Use string lines or a laser level to visualize placement.
Choosing the Right Fixtures and Bulbs
- Housing: Choose IC-rated (Insulation Contact) housings if your ceiling is insulated. Non-IC housings are for uninsulated spaces.
- Trim Styles: Options include baffle, reflector, adjustable (gimbal), and wall-washer trims. Select based on the desired light direction and style.
- Bulb Type: LED is highly recommended for efficiency and longevity. Choose color temperature (2700K for warm, 4000K for neutral) to match your decor.
Understanding Electrical Load and Permits
- Calculate Load: Ensure your circuit can handle the additional wattage. Add up the total wattage of all new fixtures and compare with your breaker’s capacity.
- Permits and Codes: Check local building codes. Many jurisdictions require a permit for new electrical work. Consult your city or county building department before starting.
Tools and Materials Checklist
- Stud finder
- Tape measure and pencil
- Laser level or chalk line
- Drywall saw or hole saw (size per fixture instructions)
- Voltage tester
- Wire stripper/cutter
- Electrical fish tape
- Screwdrivers (flat and Phillips)
- Drill and drill bits
- IC-rated recessed light housing(s)
- Appropriate light bulbs (preferably LED)
- Electrical cable (Romex, 14/2 or 12/2 as per code)
- Wire nuts and electrical tape
- Protective gear: safety goggles, dust mask, gloves
- Drop cloths or plastic sheeting
Preparation: Setting Up for a Safe Installation
Turn Off Power and Verify
Locate your home’s main electrical panel and switch off the breaker controlling your living room circuit. Use a voltage tester at the intended fixture location to confirm there is no live current. Place a sign on the panel to warn others not to turn the breaker back on.
Protect Your Space
- Remove furniture or cover with drop cloths to guard against dust and debris.
- Lay out your tools within easy reach but away from the work area to avoid tripping hazards.
- Ventilate the room, especially if cutting into painted or aged drywall.
Step-by-Step Installation Process
1. Marking Fixture Locations
Using your layout sketch, measure and mark the center of each light location on the ceiling with a pencil. Double-check distances from walls and between fixtures for accuracy. Use a stud finder to ensure the spots are clear of joists, pipes, and ductwork. If you encounter obstructions, adjust the layout as needed.
2. Cutting the Ceiling Openings
- Check your fixture’s template (often included in the box). If not, trace the housing outline onto cardboard to create your own.
- Hold the template against the ceiling at each mark and trace the outline.
- Wearing safety goggles and a dust mask, use a drywall saw or hole saw to cut along the outline. Cut slowly to avoid damaging wires, pipes, or insulation above.
- Remove drywall plugs and clear edges of dust.
3. Running Electrical Cable
- Plan your cable runs. Generally, you’ll connect the new lights to an existing switch or install a new one. For multiple lights, use a “daisy-chain” method: run cable from the power source to the first fixture, then from fixture to fixture.
- Fish the cable through the ceiling using electrical fish tape. In attic installations, this may require crawling above the ceiling joists.
- Leave at least 8–10 inches of cable protruding from each hole for wiring connections.
- Staple cables to joists per code, keeping them away from any sharp edges and insulation unless using IC-rated housings.
4. Wiring the Fixtures
- Open the junction box on each recessed housing.
- Strip about 3/4″ of insulation from each wire end (black/hot, white/neutral, green or bare/ground).
- Connect wires using wire nuts: black to black, white to white, ground to ground. Secure the ground wire to the green screw or ground clip inside the housing.
- Carefully fold wires into the junction box and close the cover tightly.
- If wiring multiple fixtures, repeat the process, ensuring secure connections at each junction.
5. Installing the Housings
- Insert each housing into its respective opening. Expandable mounting clips or brackets (included with the fixture) will hold the housing snugly against the ceiling. Tighten as directed.
- Double-check that the housing is flush with the drywall and does not wobble.
- For remodel housings, the clips will snap in place behind the drywall. For new-construction housings, secure them to the ceiling joists prior to drywall installation.
6. Adding Trim and Bulbs
- After all housings are installed and wiring is complete, snap or screw the trim pieces into place as per the manufacturer’s instructions.
- Install the recommended LED bulbs, ensuring correct wattage and color temperature.
7. Testing and Troubleshooting
- Restore power at the breaker and flip the light switch. Each fixture should illuminate evenly.
- If a light does not turn on, turn off power and check wiring connections and bulb placement.
- Look for flickering or buzzing, which can indicate loose connections or incompatible dimmer switches.
- Once satisfied, clean up the workspace and remove all protective coverings.
Upgrading Your Lighting: Dimming, Smart Controls, and More
Installing a Dimmer Switch
Adding a compatible dimmer switch offers flexible control over your living room’s brightness and mood. Choose a dimmer rated for LED lights to avoid compatibility issues. Follow manufacturer instructions or consult an electrician for switch installation.
Smart Lighting Integration
- Consider smart dimmers or Wi-Fi-enabled bulbs for voice or app control.
- Many systems integrate with platforms like Amazon Alexa, Google Home, or Apple HomeKit.
- Set schedules or scenes for movie nights, reading, or entertaining.
Maintenance and Safety Tips for Recessed Lighting
Routine Cleaning
- Turn off lights and allow them to cool completely.
- Remove trim and bulbs carefully. Wipe with a soft, dry cloth to remove dust. Avoid using water or harsh cleaners near electrical components.
- Check for insects or debris that may accumulate inside the fixture cavity.
Periodic Inspection
- Once or twice a year, inspect housings for signs of overheating, discoloration, or loose trim.
- Replace flickering or dim bulbs promptly to prevent stress on the fixture.
- Ensure that insulation in the attic has not shifted onto non-IC-rated housings.
Safety Reminders
- Never exceed the recommended bulb wattage.
- Use only IC-rated housings where ceiling insulation is present.
- If you notice persistent electrical issues, consult a licensed electrician immediately.
Cost Breakdown and Budget Considerations
Material Costs
- Recessed fixtures: $15–$45 each (quality and trim style affect price)
- LED bulbs: $5–$15 each
- Cable, connectors, hardware: $25–$50 total
- Dimmer or smart switch: $20–$60
- Tools (if not already owned): $40–$120 (one-time investment)
Professional vs. DIY Installation
- DIY: Expect to spend $120–$400 (materials only) for a typical living room (4–8 lights).
- Professional: Labor ranges from $200–$350 per fixture, depending on ceiling access, wiring complexity, and region.
- Factor in permit costs (often $50–$150, depending on locality).
Ways to Save
- Purchase multi-packs of fixtures or bulbs for discounts.
- Rent specialty tools (hole saw, fish tape) if you don’t plan to use them again.
- Combine the project with other ceiling work (such as painting) to minimize disruption and costs.
Common Pitfalls and How to Avoid Them
- Overloading circuits: Always calculate your electrical load before installation.
- Incorrect spacing: Uneven or poorly planned placement can create dark spots or harsh glares.
- Cutting into joists or utilities: Use a stud finder and probe carefully before cutting.
- Non-IC housing in insulated ceilings: This can create fire hazards. Always use the right housing for your ceiling type.
- Ignoring permits: Unpermitted electrical work may cause issues during resale or insurance claims.
Conclusion: Enjoy Your Brighter, Modern Living Room
With careful planning, the right tools, and attention to safety, installing recessed lighting can dramatically improve both the functionality and style of your living room. Beyond the enhanced ambiance, you’ll benefit from greater energy efficiency, increased home value, and a custom lighting solution tailored to your daily needs. By following this step-by-step guide, you’ve learned how to assess your space, select and position fixtures, navigate wiring safely, and finish with professional-looking results. Remember to keep safety front and center—turn off power, use proper protective gear, and don’t hesitate to call a professional for complex wiring or troubleshooting. As you relax under your new lighting, you’ll appreciate the value of a well-executed DIY project. And if you decide to expand your lighting upgrades to other rooms, you now have the knowledge and confidence to tackle them. Enjoy your refreshed, inviting living space—brightened and modernized by your own hands.
When planning the recessed lighting layout, do you recommend running new wiring directly from the main breaker or is it OK to tap into existing ceiling fixture circuits for a typical living room setup? I want to make sure I stay within code in the US.
For a typical living room setup, it’s usually acceptable to tap into an existing ceiling fixture circuit, as long as the circuit isn’t overloaded and the total load stays within code limits. However, if the current circuit is already near capacity or you plan to add many lights, running a new line from the main breaker is safer. Always check your local code requirements and consider consulting a licensed electrician to ensure compliance.
Is there a big difference in installation time or difficulty if I choose remodel-style recessed lights versus new construction cans for a finished living room? I’m considering doing this myself but want to avoid biting off more than I can chew.
For a finished living room, remodel-style recessed lights are usually much easier and quicker to install than new construction cans. Remodel lights are designed to fit into existing drywall with minimal cutting and disturbance, while new construction cans require access to ceiling joists and are best suited for open ceilings during major renovations. As a DIYer, you’ll likely find remodel lights less invasive and more manageable for your project.
You mention recessed lighting can help with energy efficiency. Are there certain types of bulbs or fixtures I should specifically look for if keeping my electricity bill down is a priority?
For improving energy efficiency with recessed lighting, look for LED bulbs and fixtures that are ENERGY STAR certified. LEDs use much less electricity than traditional incandescent or halogen bulbs and last significantly longer. When shopping for fixtures, check the packaging for energy ratings and compatibility with LED bulbs. This combination will help keep your electricity bills lower.