
Introduction: Why Consider a Tankless Water Heater?
Homeowners are increasingly turning to tankless water heaters for their energy efficiency, on-demand hot water, and space-saving design. Unlike traditional storage tanks, tankless systems heat water only when needed, reducing standby energy losses and lowering utility bills over time. However, the process of replacing or installing a tankless water heater is more involved than a simple swap. It requires careful planning, the right tools, knowledge of local codes, and a methodical approach to safety. This comprehensive tutorial will guide you through each phase of installing a tankless water heater at home, from pre-planning and permitting to final testing. Whether you’re a seasoned DIYer or a confident homeowner ready to tackle this upgrade, this guide will provide you with the practical, step-by-step instructions you need to ensure a safe and efficient installation.
Pre-Installation: Planning and Preparation
Assessing Your Home’s Suitability
Before you begin, confirm that your home’s existing plumbing, gas, and electrical systems are capable of supporting a tankless water heater. Consider:
- Water Demand: Calculate peak hot water usage (e.g., showers, appliances running simultaneously) to select the correct unit size (measured in gallons per minute, or GPM).
- Gas Supply: Tankless units often require a higher BTU input and larger gas lines than tank models.
- Electrical Supply: Even gas models need electricity for ignition and controls; verify the proximity of an outlet and circuit adequacy.
- Venting: Direct venting to the outside is required for most gas-powered tankless heaters.
- Water Hardness: Hard water can reduce efficiency and lifespan; consider a water softener if needed.
Permitting and Compliance
Check with your local building authority regarding required permits and inspections. Most municipalities require permits for water heater installation, particularly for gas and electrical work. Permits ensure:
- Safe gas and electrical connections
- Proper venting to prevent carbon monoxide hazards
- Compliance with energy efficiency standards
Obtain all necessary permits before starting work, and schedule a final inspection when the installation is complete.
Gathering Tools and Materials
Having the right tools and materials on hand streamlines the installation process. You’ll need:
- Tankless water heater (properly sized)
- Mounting hardware (brackets, screws, anchors)
- Pipe wrenches, adjustable wrenches, channel-lock pliers
- Pipe cutter (for copper, PEX, or PVC)
- Propane torch and solder (for copper pipes)
- Thread sealant and Teflon tape
- Flexible water heater connectors
- Gas line flex connector (or black pipe and fittings)
- Venting kit (manufacturer-approved)
- Drill and bits (masonry bit if venting through brick/concrete)
- Stud finder
- Level
- Bucket and towels
- Voltage tester (for electrical connections)
- Personal protective equipment (safety glasses, gloves)
Step 1: Removing the Old Water Heater
Begin by safely disconnecting and removing your existing water heater if replacing a tank model.
- Power Down: Turn off power at the breaker (electric) or shut off the gas supply (gas).
- Water Supply: Close the cold water inlet valve to the heater.
- Drain the Tank: Attach a hose to the drain valve, open a hot water tap, and drain the tank completely.
- Disconnect: Carefully detach water lines, gas line, and electrical connections, using appropriate wrenches and safety precautions.
- Vent Removal: Remove the vent pipe if present.
- Dispose Properly: Follow local recycling/disposal regulations for old water heaters.
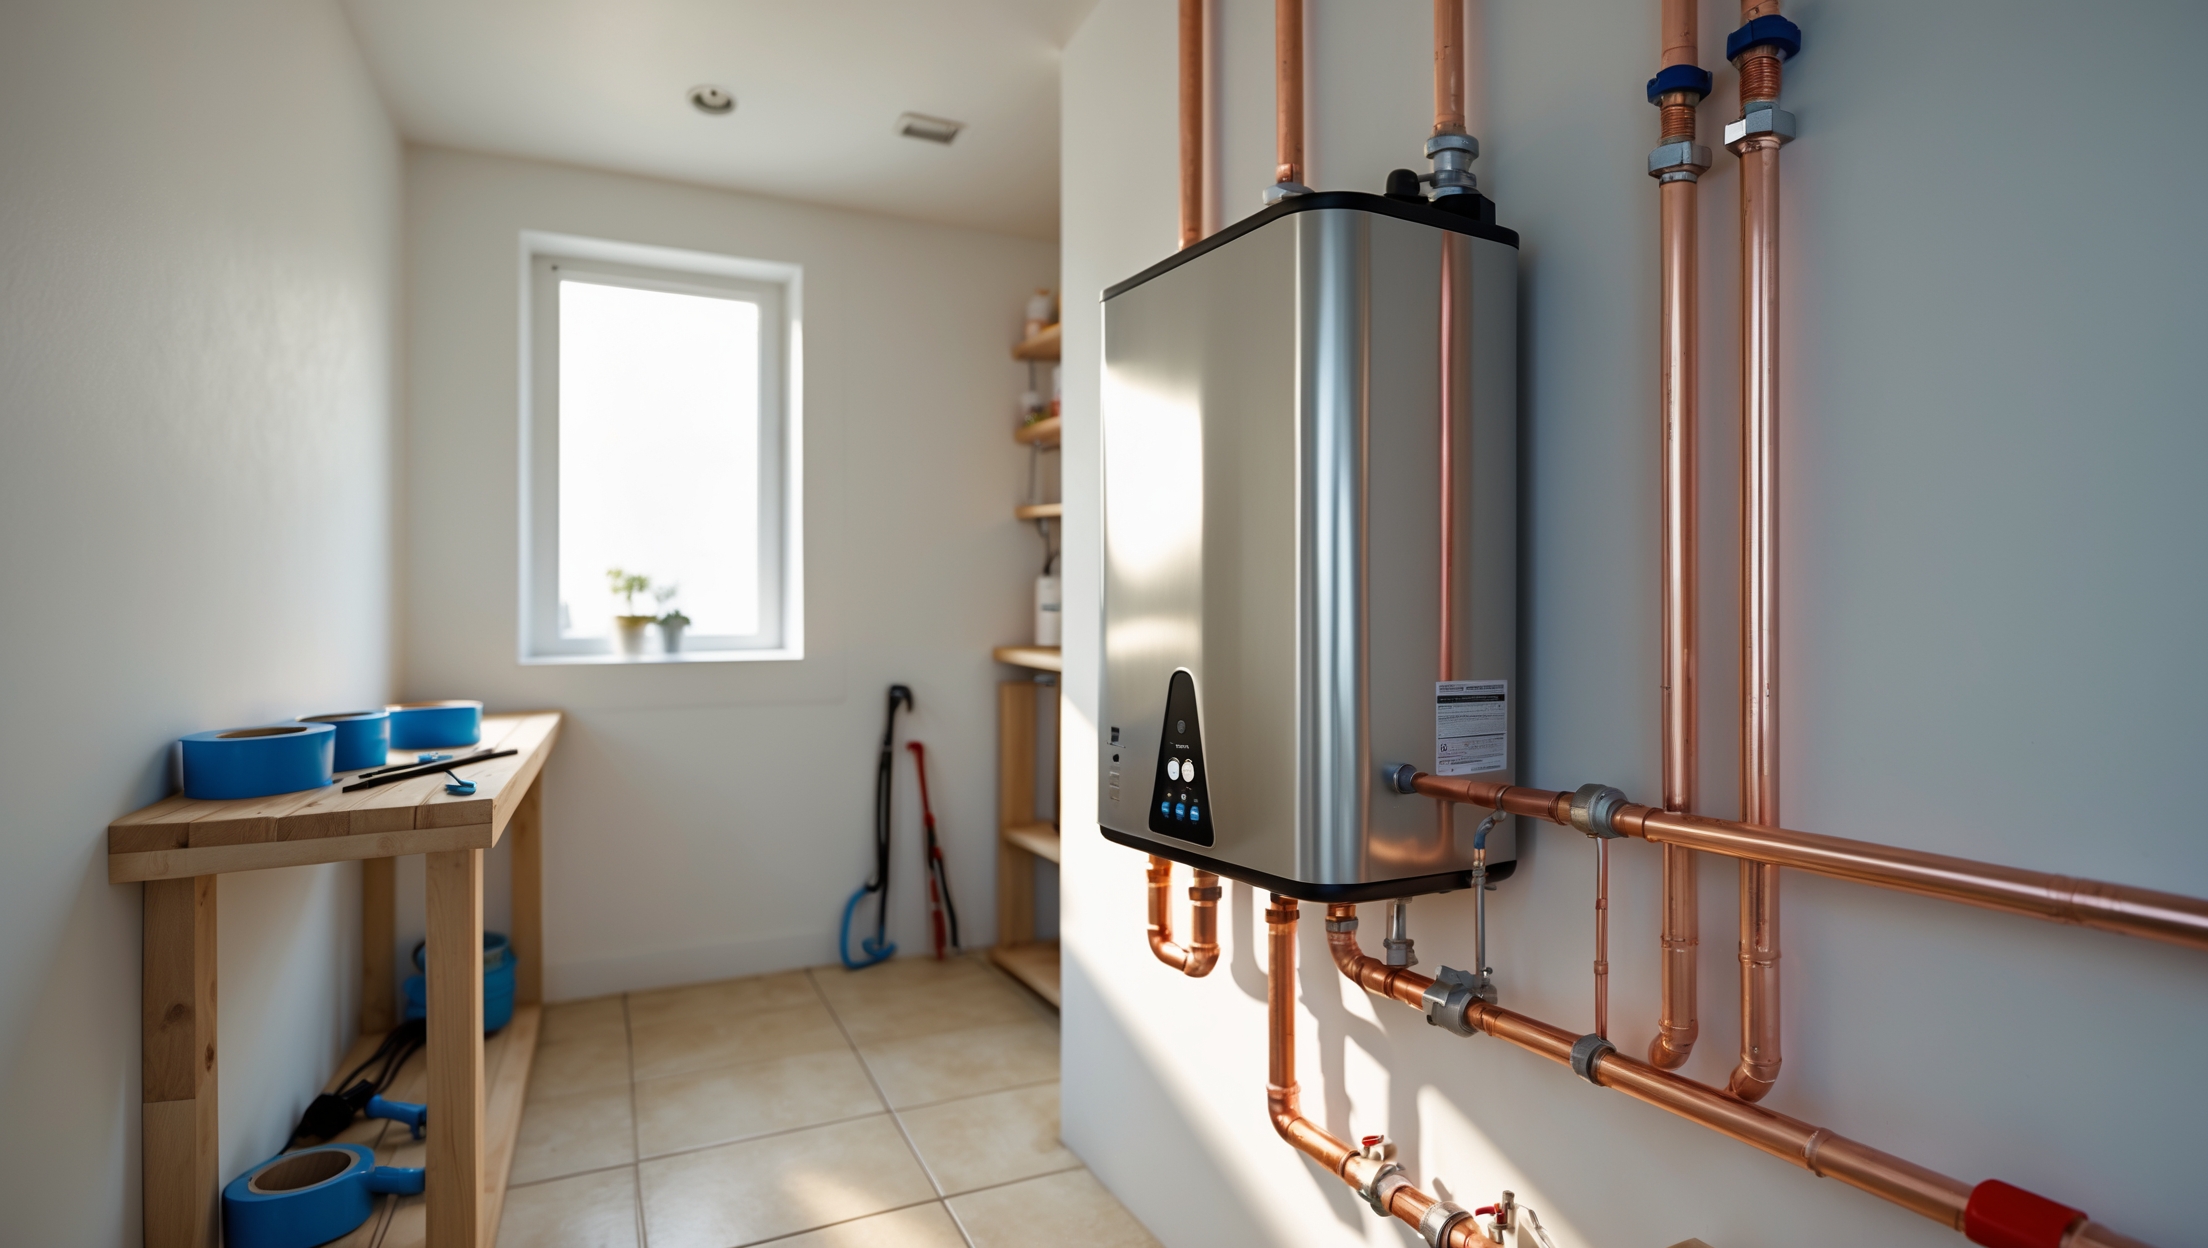
Step 2: Preparing Mounting Location
Tankless water heaters are wall-mounted. Choose a location close to the main hot water lines, preferably on an exterior wall to simplify venting. Ensure adequate clearance as specified by the manufacturer (typically 12–24 inches on all sides).
- Use a stud finder to locate wall studs for secure mounting.
- Mark mounting bracket locations with a level to keep the unit straight.
- Drill pilot holes and install mounting hardware, ensuring they can support the unit’s weight.
- Hang the tankless heater on brackets, double-checking for stability.
Step 3: Connecting Water Lines
Modern tankless units include isolation valves for maintenance. Connect the cold water supply and hot water output using flexible connectors or copper/PEX pipes as appropriate.
- Wrap threads with Teflon tape or apply thread sealant to prevent leaks.
- Solder copper fittings if necessary, or use push-fit connectors for PEX.
- Install a pressure relief valve if not factory-mounted.
- If water is hard, install a scale inhibitor or softener upstream.
- Tighten all fittings and check for alignment.
Step 4: Connecting the Gas Line (for Gas Models)
Gas connections must be leak-free and up to code. If you’re not comfortable with gas work, hire a licensed plumber.
- Shut off the main gas valve before starting.
- Use a flexible gas connector or black pipe, sized per manufacturer’s requirements.
- Apply pipe joint compound to threaded connections.
- Connect the gas line to the appliance and tighten securely.
- After connections, turn on the gas valve and test for leaks using a soap-water solution. Bubbles indicate a leak that must be fixed before proceeding.
Step 5: Installing the Venting System
Proper venting is critical for safety and efficiency. Follow the manufacturer’s instructions closely.
- Use only vent kits approved by the heater manufacturer.
- Drill a hole through the wall (or roof, if required) for the vent pipe. Use a masonry bit for brick or concrete.
- Install vent pipe sections, sealing joints with high-temperature silicone or approved sealant.
- Ensure the vent’s termination is clear of windows, doors, and eaves as per code (usually at least 12 inches away).
- Secure all vent sections and check for proper slope (slightly upward toward the outside for condensation drainage).
Step 6: Electrical Connections
Even gas tankless heaters require electricity for ignition and controls. For electric models, a dedicated high-amperage circuit is necessary.
- Switch off power at the breaker panel.
- Connect the unit’s power cord or hardwire as per manufacturer’s instructions.
- Use a voltage tester to confirm power is off before working on wires.
- Secure connections with wire nuts or terminal screws, following color codes.
- Restore power at the breaker only after all connections are complete.
Step 7: System Startup and Testing
With all connections complete:
- Open the cold water supply valve and check for leaks at all joints.
- Open a hot water faucet to purge air from the lines and test flow.
- For gas models, follow the manufacturer’s start-up procedure to ignite the burner and set the desired temperature (typically between 120–125°F).
- For electric models, switch on power and set the temperature as recommended.
- Check for error codes on the heater’s display and consult the manual if any appear.
Maintenance and Best Practices
Regular Flushing
Tankless heaters should be flushed annually (or more often in hard water areas) to prevent scale buildup. Use the isolation valves to circulate a descaling solution through the heater according to the manufacturer’s instructions.
Filter Cleaning
Clean the inlet water filter every six months to ensure optimal flow and prevent debris from damaging the unit.
Visual Inspections
- Check venting for obstructions or corrosion.
- Inspect gas and water connections for leaks.
- Monitor error codes and address promptly.
Safety Checklist
- Always turn off water, gas, and power before beginning work.
- Use appropriate PPE: safety glasses, gloves, and hearing protection when cutting/drilling.
- Test for gas leaks before igniting the unit.
- Verify venting is properly installed and unobstructed.
- Do not operate the heater without water flow.
- Keep the area around the heater clear of combustibles.
- Schedule professional inspections if unsure about any step.
Cost Breakdown: Budgeting for Your Installation
- Tankless Water Heater: $600–$2,000 (depending on size and brand)
- Installation Materials: $150–$350 (pipes, connectors, venting kit, etc.)
- Permit Fees: $50–$200 (varies by location)
- Professional Labor (if outsourced): $800–$2,500
- Optional Water Softener: $400–$1,500
DIY installation can save on labor, but never compromise on safety or code compliance. Budget for unexpected expenses, such as upgrading gas lines or electrical circuits.
Conclusion: Achieving a Safe and Efficient Tankless Upgrade
Installing a tankless water heater is a rewarding project that can dramatically improve your home’s efficiency and comfort. By following this detailed, step-by-step tutorial, you can navigate the complexities of plumbing, gas, electrical, and venting work with confidence. Remember, every phase—from initial planning and permitting to final testing—plays a vital role in ensuring your new system runs safely and efficiently. Never hesitate to consult professionals for gas, electrical, or compliance questions. Regular maintenance, including annual flushing and filter checks, will keep your heater performing at its best for years to come. With careful preparation and attention to detail, your tankless water heater installation will be a smart, long-term home improvement—providing endless hot water, lower energy bills, and peace of mind. Whether you’re upgrading for efficiency, space savings, or environmental benefits, you’ll enjoy the rewards of modern hot water technology every day.