
Introduction: The High Stakes of Exterior Painting
Painting the exterior of your home is more than just a cosmetic update—it’s a crucial investment in your property’s protection and value. A flawless paint job can transform curb appeal, shield your home from the elements, and even extend the lifespan of exterior materials. However, many homeowners underestimate the precision and planning required for a successful exterior painting project. Seemingly minor mistakes can lead to peeling, cracking, discoloration, or costly repairs within just a few seasons. In this in-depth guide, we’ll explore the most common exterior painting mistakes—many of which even experienced DIYers make. You’ll learn how to spot trouble before it starts, choose the right products, prepare surfaces like a pro, and resolve paint failures if they do occur. Whether you’re painting clapboard, stucco, brick, or trim, these insights will help you achieve a beautiful, durable finish that stands the test of time.
Understanding the Most Common Exterior Painting Mistakes
1. Skipping Proper Surface Preparation
One of the fastest ways to doom your paint job is inadequate prep. Dirt, mildew, flaking old paint, and chalky residues prevent new paint from bonding. Even invisible contaminants can sabotage your results.
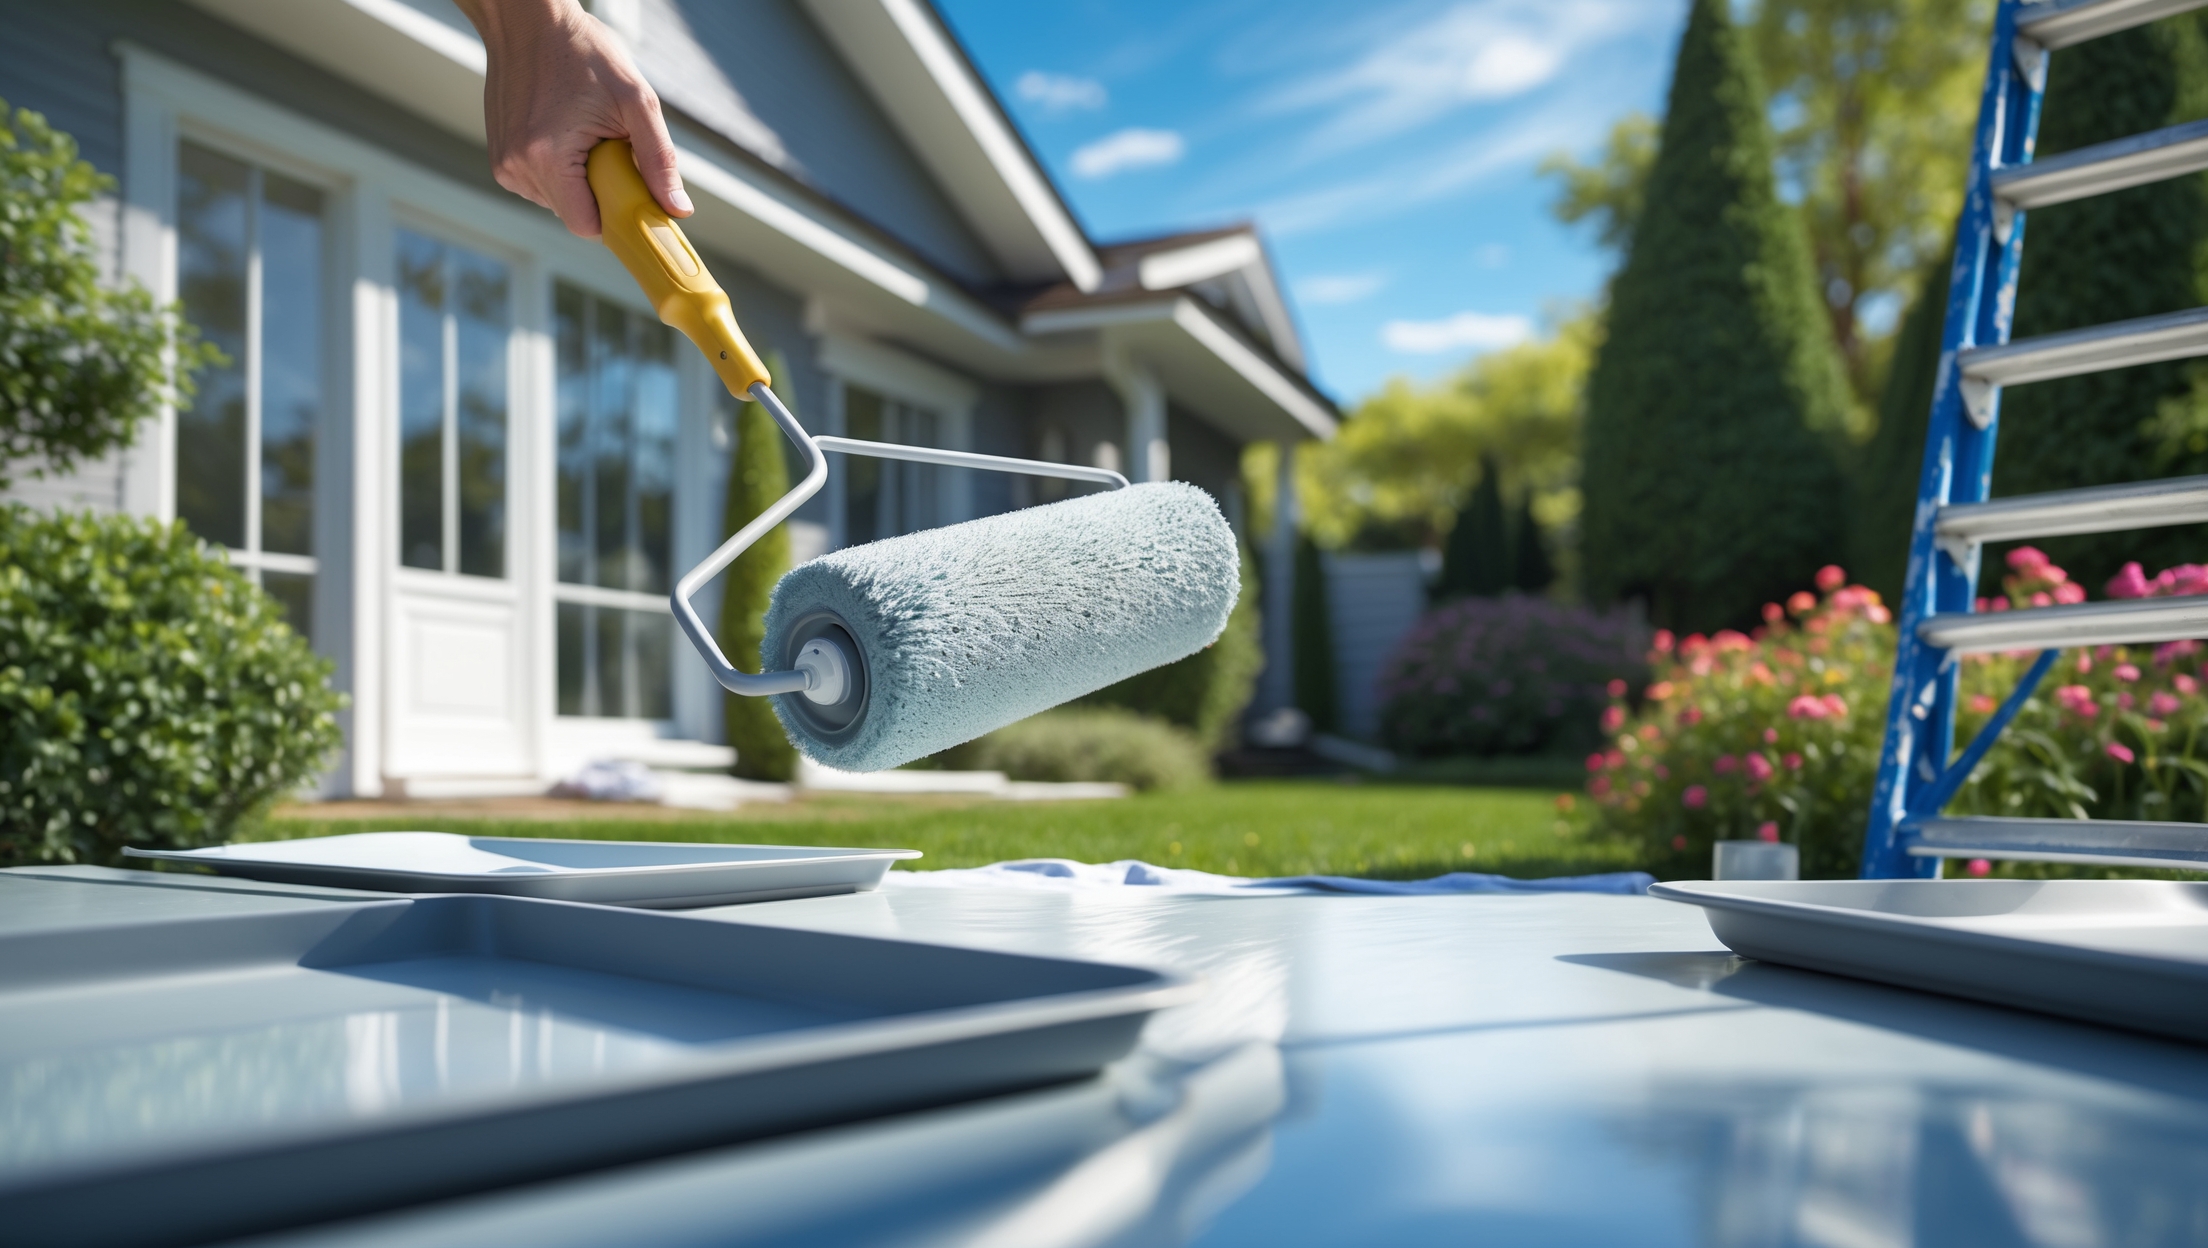
- Cleaning: Always wash surfaces with a pressure washer or scrub with mild detergent and a stiff brush. Rinse thoroughly and allow to dry.
- Repairs: Fill cracks and gouges with exterior-grade fillers. Replace rotted wood. For stucco, patch and let cure fully.
- Scraping and Sanding: Remove all loose paint with a scraper, wire brush, and/or sanding block. Feather edges to ensure a smooth transition.
- Priming: Never skip primer on bare wood, new stucco, or patched surfaces. Specialty primers help seal stains and improve adhesion.
Fix: If you notice peeling or bubbling soon after painting, chances are poor prep is to blame. Strip failed areas, clean, and start over with thorough surface preparation.
2. Painting Over Wet or Damp Surfaces
Paint won’t adhere well to moisture. Painting too soon after rain, dew, or washing can trap water beneath the surface, leading to blistering and premature failure.
- Check the forecast and allow at least 24–48 hours of dry weather before painting.
- Use a moisture meter on wood or stucco if conditions have been humid or rainy.
Fix: If paint blisters or peels in patches, scrape away failed paint and allow surfaces to fully dry before repainting.
3. Using the Wrong Type of Paint
Not all exterior paints are created equal. Using interior paint outdoors or mismatching paint types (oil over latex, or vice versa) can result in flaking and uneven color.
- Choose high-quality, exterior-grade acrylic latex for most surfaces. Masonry and metal require specialty products.
- Always check manufacturer recommendations for compatibility over existing finishes.
Fix: If paint cracks, alligators, or doesn’t cure properly, strip the affected section and prime with a product designed for your surface before repainting with the correct paint.
4. Ignoring Weather Conditions
Extreme temperatures, direct sun, wind, or impending rain can ruin a paint job. Paint applied in hot sun dries too quickly, leaving brush marks or lap lines. Cold weather can prevent proper curing.
- Apply paint between 50°F and 85°F. Avoid painting in direct sunlight or when rain is expected within 24 hours.
- Watch for wind, which can carry dust or debris onto wet paint.
Fix: If you see lap marks or a patchy finish, sand lightly to smooth and re-coat in better conditions.
5. Skimping on Paint Quantity
Trying to stretch paint too far leads to thin, uneven coverage and poor protection. Undercoated surfaces deteriorate faster and show color inconsistencies.
- Calculate coverage using manufacturer guidelines and add 10–15% for texture and absorbent surfaces.
- Always apply two coats for durability and full color depth.
Fix: If color looks faded or patchy, apply a second coat as soon as the first is dry.
Step-by-Step Guide: How to Avoid the Most Costly Exterior Painting Mistakes
1. Planning and Budgeting Your Project
Start by assessing your home’s exterior condition and calculating the scope of work. Consider the following:
- Materials: Paint, primer, caulk, fillers, cleaning supplies, sandpaper, brushes, rollers, drop cloths, ladders or scaffolding.
- Tools: Scrapers, wire brushes, pressure washer, putty knives, extension poles, paint sprayer (optional).
- Time: Most homes require several days for prep, priming, and painting.
- Budget: Estimate the total cost, factoring in higher pricing for premium paints and specialty primers. Don’t forget rental costs for equipment like sprayers or scaffolds.
2. Surface Inspection and Thorough Cleaning
Walk around your home and inspect for mold, mildew, chalkiness, or peeling paint. Remove all debris, cobwebs, and loose paint. Pressure wash or hand scrub as appropriate, and let surfaces dry completely—ideally 2–3 days in dry weather.
3. Detailed Repairs and Surface Prep
- Scrape all peeling or flaking paint to bare substrate.
- Sand rough edges and glossy spots to ensure a smooth, matte surface for new paint.
- Use exterior wood filler or masonry patch as needed. Allow to cure fully.
- Caulk all joints, seams, and cracks with high-quality, paintable exterior caulk.
- Prime bare wood, metal, or patched areas with a suitable exterior primer.
4. Choosing the Right Paint and Primer
- Select top-tier exterior acrylic latex for most wood, fiber cement, or vinyl siding. For brick or stucco, use masonry-specific coatings.
- Primers are essential for new surfaces, repairs, or drastic color changes. Consider stain-blocking primers for water stains or tannin bleeding.
- Always buy enough paint for two full coats, plus extra for touch-ups.
5. Applying Paint Like a Pro
- Work from top to bottom, completing one wall or section at a time.
- Maintain a wet edge to eliminate lap marks—don’t let sections dry before overlapping.
- Use quality brushes and rollers sized for your siding profile. A sprayer can save time on large, smooth surfaces.
- Apply paint evenly and don’t overwork—let the paint self-level.
- Allow proper drying time between coats, following manufacturer guidance.
6. Clean-Up and Inspection
- Remove tape while the last coat is still slightly tacky for crisp lines.
- Check all areas for missed spots, drips, or thin coverage. Touch up as needed.
- Clean brushes, rollers, and equipment promptly.
Spotlight: Specific Problem Areas and How to Address Them
Painting Over Old Oil-Based Paint
Latex paints won’t adhere well to glossy, oil-based finishes unless you sand thoroughly and use a bonding primer. Test by rubbing with alcohol; if paint doesn’t come off, it’s likely oil-based.
Solution: Sand surface to dull gloss, apply a high-quality bonding primer, then topcoat with latex.
Brick and Masonry Surfaces
Efflorescence (white, chalky deposits) or moisture issues are common. Paint can trap moisture, causing bubbling and flaking.
Solution: Remove efflorescence with a stiff brush and water. Use breathable masonry paints. Address drainage or sealing issues before painting.
Metal Surfaces
Rust and corrosion can bleed through paint. Use a wire brush to remove rust, prime with rust-inhibiting primer, and topcoat with exterior metal paint.
Trim and Architectural Details
These areas are prone to cracking joints and intricate edges. Use a high-quality, flexible trim paint and carefully caulk joints before painting.
Long-Term Maintenance: Protecting Your Investment
Annual Inspection and Spot Repairs
- Walk your home’s perimeter each spring and fall, checking for peeling, cracking, or fading.
- Promptly scrape and touch up damaged areas to prevent moisture intrusion.
Cleaning and Mold Prevention
- Wash siding annually with a hose and soft brush to remove dirt, pollen, and mold spores.
- Trim vegetation away from siding to improve airflow and reduce mold risk.
Touch-Ups and Color Consistency
- Store leftover paint in a cool, dry place, tightly sealed for future touch-ups.
- Keep a record of paint brand, color, and sheen for easy matching.
When to Call in the Pros
Severely peeling paint, lead-based paint hazards, multi-story homes, or complex surfaces may require professional expertise. Pros have access to industrial-grade prep equipment, high-reach scaffolding, and advanced coatings. If your home was built before 1978, test for lead-based paint before scraping or sanding. Professional painters are trained in safe lead removal and compliance with EPA regulations.
Conclusion: Achieving a Flawless, Durable Finish
A successful exterior paint job is one of the most rewarding home improvement projects you can undertake. The difference between a long-lasting, beautiful finish and a disappointing, short-lived result almost always comes down to preparation, product selection, and attention to detail. By understanding and avoiding the most common mistakes—skimping on prep, using the wrong products, ignoring weather, and underestimating the amount of paint needed—you’ll protect your investment and boost curb appeal for years to come.
Take the time to inspect, repair, and prime with care. Don’t rush the process, and always keep weather and surface conditions in mind. A methodical approach not only ensures a professional-quality finish but also saves you time and money on future maintenance. Should you encounter challenges or discover you’re in over your head, don’t hesitate to consult a reputable painting contractor for advice or assistance.
With the right knowledge, materials, and technique, your home’s exterior can look vibrant and fresh for a decade or more. Avoid the pitfalls, follow best practices, and you’ll enjoy the satisfaction of a job well done every time you pull into your driveway.
If peeling or bubbling appears after painting despite careful prep, is there a way to salvage part of the paint job, or is a complete redo always necessary? I’m curious if there are techniques for blending repairs so touch-ups aren’t obvious.
You don’t always have to redo the entire paint job. If peeling or bubbling is limited to small areas, you can scrape off the problem spots, sand the edges smooth, prime the area, and repaint just those sections. To help blend repairs and make touch-ups less obvious, feather the paint outward from the patch and try to match the original paint’s sheen and color as closely as possible.
You mention using a pressure washer or a stiff brush with detergent for cleaning before painting. In your experience, is one method more effective than the other depending on the siding material, like clapboard versus stucco?
For clapboard siding, a pressure washer can be effective if used carefully to avoid forcing water behind the boards, which could cause damage. For stucco, a pressure washer is usually better at removing embedded dirt and chalky residue from the textured surface. However, for delicate or older surfaces, a stiff brush with detergent gives you more control and minimizes the risk of damage. Always let the surface dry thoroughly before painting.
When prepping exterior clapboard, is it better to use a chemical paint remover or just stick to scraping and sanding? I’ve had mixed results with old lead-based paints and wonder what method gives the most consistent results before priming.
When dealing with old lead-based paints on exterior clapboard, it’s safest and often most effective to use a combination of gentle scraping and wet sanding, both while wearing proper protective gear. Chemical removers can work but require careful handling and clean-up. For lead paint, avoid dry sanding and heat guns, as they can release hazardous dust or fumes. Always follow local guidelines for lead paint removal to protect your health and the environment before priming.
If a paint failure happens within the first year due to poor surface prep, is it possible to fix just the affected spots, or should I plan to redo the whole wall or section? I’m trying to estimate labor and material costs if issues do come up.
If only small areas are affected by paint failure due to poor surface prep, you can usually fix just those spots by scraping, sanding, priming, and repainting them. However, if failures are widespread or the prep issues are extensive, it may be better in the long run to redo the whole wall or section for a uniform finish and durability. Assess the scope before deciding, as this will greatly affect costs.
In the article you mention patching stucco and letting it cure fully before painting. How long should I wait after patching stucco before I start priming and painting to avoid future peeling issues?
After patching stucco, it’s best to wait at least 7 to 14 days for the patch to fully cure before priming and painting. The exact time can depend on the weather and the thickness of the patch. Make sure the area is completely dry and hard to the touch before proceeding, as painting too soon can lead to peeling or bubbling later on.
Could you explain more about when it’s necessary to use a specialty primer versus a standard one, especially for surfaces like patched stucco or stained wood? I want to make sure I’m choosing the right product and not overcomplicating the process.
For patched stucco or stained wood, using a specialty primer is important when the surface has unique challenges. For example, patched stucco may need a masonry or bonding primer to ensure proper adhesion and durability. Stained wood, especially if it’s water-stained or has tannins, benefits from a stain-blocking primer to prevent discoloration. Standard primers work for clean, unproblematic surfaces, but specialty primers help address specific issues like stains, uneven surfaces, or previous repairs.
If I’ve already painted and started noticing some early signs of peeling near wooden trim, do I need to strip paint off the whole section or just spot-treat the problem area and re-prime? How do I know how much needs to come off?
If peeling is only in a small area near the wooden trim, you can usually spot-treat it. Scrape off any loose or flaking paint until you reach solid, well-adhered layers. Sand the edges smooth, prime the bare wood, then repaint. If peeling keeps spreading or the paint feels loose in other spots, you may need to strip a larger section for a lasting fix.
I noticed you mention using either a pressure washer or scrubbing with detergent and a stiff brush for cleaning before painting. In your experience, is one method better for older wood siding, or can pressure washing sometimes cause more damage than it prevents?
For older wood siding, scrubbing with detergent and a stiff brush is usually safer. Pressure washers, especially at high settings, can damage aged wood by forcing water into cracks or lifting fibers, which might lead to premature paint failure. If you do choose to pressure wash, use a low-pressure setting and keep the nozzle at a safe distance to avoid harm.
How much time should I let fillers and primer cure before moving on to painting, especially in humid weather? We have a packed schedule and I want to avoid costly do-overs from rushing the prep process.
In humid weather, it’s best to allow fillers to cure for at least 24 hours, or follow the manufacturer’s instructions if they suggest longer. Primer should typically dry for 24 hours as well, but high humidity can extend that. Make sure surfaces feel completely dry to the touch before painting, even if it takes a bit longer. Taking this extra time helps the paint bond properly and prevents future issues.