
Introduction: Why Waterproofing Your Basement Matters
Basement waterproofing might not be the most glamorous home improvement project, but it’s absolutely critical for protecting your home’s foundation, preserving indoor air quality, and preventing costly water damage down the road. Whether you’re finishing your basement or simply want to safeguard storage space, understanding the right tools, costs, and long-term maintenance strategies is essential. Even minor leaks or persistent humidity can lead to mold growth, structural deterioration, or ruined possessions. The good news? Proactive waterproofing is a manageable, step-by-step process—provided you know what to expect and how to approach it. In this comprehensive guide, we’ll break down the exact tools you’ll need (and what you can skip), outline an accurate cost breakdown for various solutions, and share actionable maintenance strategies for keeping your basement dry year after year. If you want to avoid surprise expenses, frustrating DIY setbacks, and recurring water problems, read on for a detailed, practical roadmap to basement waterproofing success.
Understanding Basement Water Intrusion: Common Sources and Warning Signs
The Most Common Sources of Basement Water
- Surface Water: Poor drainage, overflowing gutters, or sloped landscaping can direct rainwater toward your foundation.
- Groundwater: High water tables or saturated soil can push moisture through basement walls and floors.
- Plumbing Leaks: Burst pipes, leaky water heaters, or faulty sump pumps can introduce water inside.
- Condensation: High humidity or poor ventilation often causes moisture buildup on cold surfaces.
Key Warning Signs to Watch For
- Efflorescence (white, chalky residue) on walls
- Damp, musty odors
- Visible mold or mildew
- Peeling paint or bubbling drywall
- Pooling water or persistent dampness on floors
- Cracks in the foundation walls or floor
Identifying the source and symptoms early is the foundation of an effective waterproofing plan.
Essential Tools and Materials for Basement Waterproofing
Assessment and Preparation Tools
- Moisture Meter: For detecting hidden damp spots in walls and floors.
- Flashlight and Inspection Mirror: To thoroughly examine cracks, corners, and utility penetrations.
- Measuring Tape: For calculating areas needing repair or membrane application.
- Utility Knife and Scraper: For removing old sealants and prepping surfaces.
Crack Repair and Sealing Tools
- Concrete Patch Kit or Hydraulic Cement: For filling foundation cracks. Hydraulic cement sets quickly and blocks water instantly.
- Caulking Gun: For applying urethane or silicone sealants around windows, pipes, and joints.
Waterproofing Application Tools
- Brushes and Rollers: For applying liquid waterproofing membranes or sealants.
- Paint Sprayer (optional): Speeds up application for large areas.
- Bucket and Mixing Paddle: For mixing membrane products or cementitious coatings.
Drainage System Installation Tools
- Hammer Drill with Masonry Bits: For creating weep holes or drainage channels.
- Reciprocating Saw: To cut through concrete or framing if installing interior drains or sump basins.
- Shovel and Wheelbarrow: For excavation work if exterior drainage or grading is needed.
Key Materials Checklist
- Waterproofing membrane (liquid or sheet)
- Hydraulic cement or epoxy crack fillers
- Polyurethane/silicone caulk
- Sump pump and basin (if not already installed)
- Perimeter drain tile or French drain components
- Dehumidifier (for ongoing humidity control)
Investing in the right tools upfront prevents frustration and maximizes the effectiveness of your waterproofing efforts.
Basement Waterproofing Methods: Interior vs. Exterior Solutions
Interior Waterproofing Solutions
- Sealants and Waterproofing Paint: Fast and inexpensive, but best for minor dampness or as a supplemental measure.
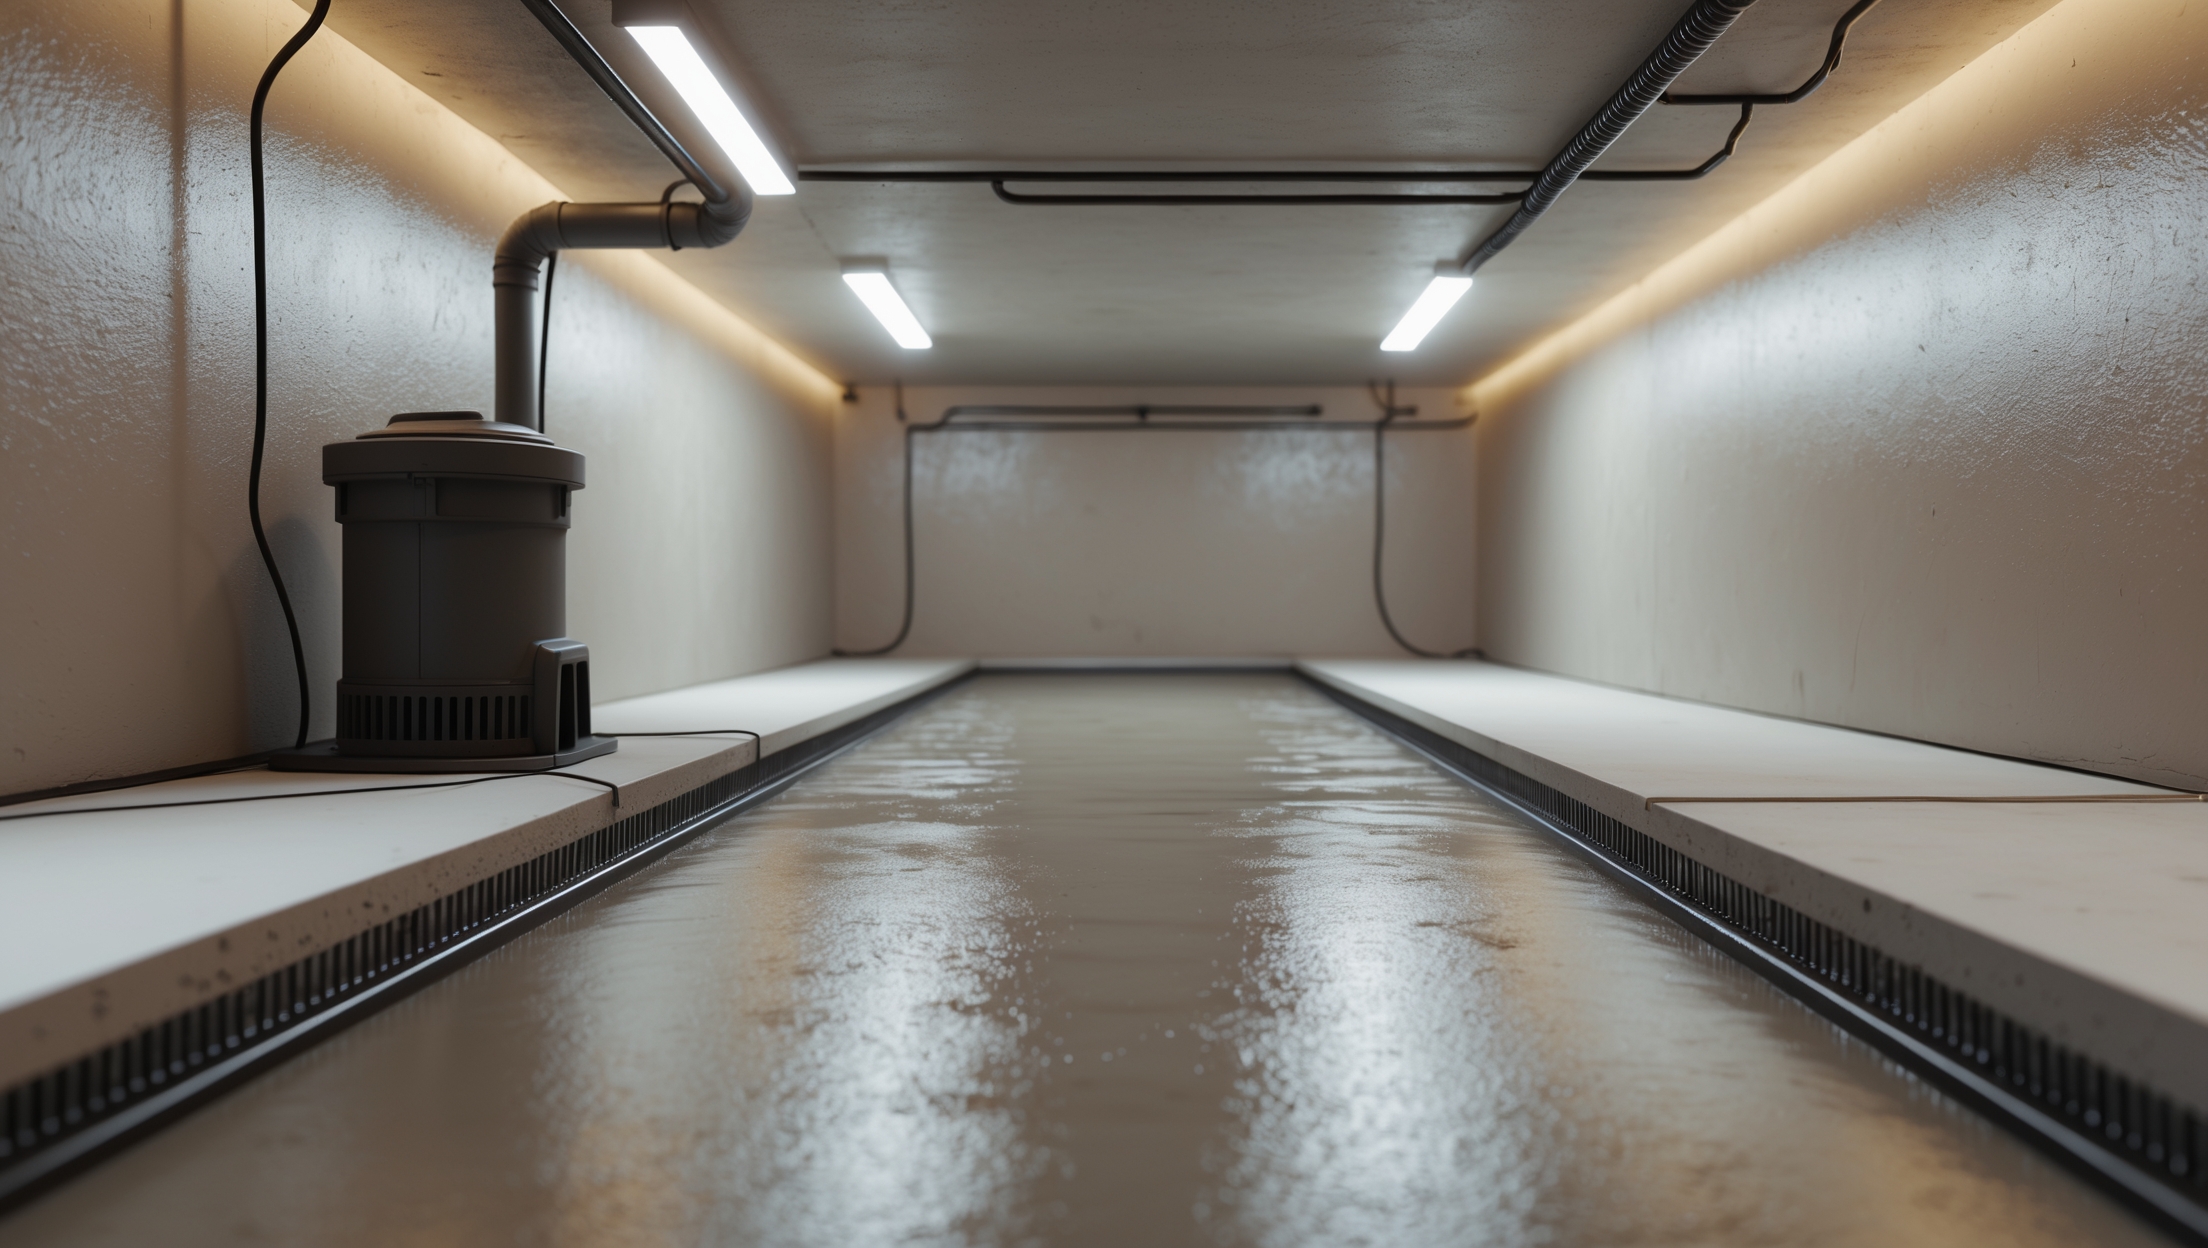
- Interior Drain Tile Systems: Involves installing a perforated pipe along the basement perimeter (under the slab) to channel water to a sump pump.
- Sump Pump Installation: Essential for managing groundwater intrusion. Modern models include battery backups for power outages.
- Vapor Barriers: Heavy-duty plastic sheets installed on walls to block vapor transmission.
- Dehumidifiers: Reduce condensation and inhibit mold growth.
Exterior Waterproofing Solutions
- Excavation and Exterior Membrane Application: Involves digging around the foundation, cleaning the exterior wall, and applying a waterproof membrane (bituminous or rubberized asphalt).
- Exterior French Drain Installation: Perforated pipes and gravel beds redirect water away from the foundation.
- Grading and Landscaping Adjustments: Ensures surface water flows away from the home.
- Gutter Extensions and Downspout Management: Directs roof runoff at least 6 feet from the foundation.
Which Method Is Right for You?
Interior solutions are generally easier and less expensive, but exterior methods provide the most comprehensive, long-lasting protection—especially in high water table zones or with recurring leaks. Many homeowners combine both for optimal results.
Cost Breakdown: Realistic Budgeting for Basement Waterproofing
DIY vs. Professional Costs
- DIY Interior Sealing: $200–$800 for sealant, patch kits, and tools (covers most small basements).
- Sump Pump Installation: $300–$700 for pump and basin; $1,000–$2,500 with professional installation.
- Interior Drain Tile System: $1,500–$5,000 (DIY possible but labor-intensive); $5,000–$15,000 professionally installed.
- Exterior Excavation and Membrane: $7,500–$20,000+ (almost always requires professionals due to machinery and depth).
- Exterior French Drain: $1,500–$5,000 for shorter runs (DIY possible with proper tools); $4,000–$10,000 for full perimeter by contractor.
Hidden Costs and Budgeting Tips
- Permits: Some cities require permits for major excavation or drainage work—budget $100–$500.
- Repairs: Fixing foundation cracks or replacing damaged drywall adds $500–$2,000+.
- Electrical Upgrades: Sump pumps may require new outlets or dedicated circuits ($200–$600).
- Landscaping Repair: After exterior work, plan for $500–$2,000 to restore gardens or lawns.
Always budget a 10–15% contingency for unexpected findings, like hidden cracks or mold.
Step-by-Step: DIY Interior Basement Waterproofing
1. Inspect and Document Problem Areas
Walk your basement, noting musty smells, damp spots, visible cracks, and pooling water. Use a moisture meter to check for hidden dampness behind finished walls or under flooring. Document with photos for reference and, if needed, insurance claims.
2. Clear the Area and Prepare Surfaces
Remove furniture, storage bins, and wall hangings. Use a scraper or wire brush to remove flaking paint, efflorescence, or loose debris from walls and floors. Ensure all surfaces are clean and dry before proceeding.
3. Repair Cracks and Joints
- Widen hairline cracks with a chisel to at least 1/4 inch for better patch adhesion.
- Mix hydraulic cement per the manufacturer’s instructions. Force it into cracks with a putty knife, smoothing the surface flush.
- Seal wall-floor joints and pipe penetrations with polyurethane caulk using a caulking gun.
4. Apply Waterproofing Membrane
- Use a brush or roller to apply liquid waterproofing paint or membrane horizontally across walls, overlapping each coat by at least 2 inches.
- For extra protection, apply a second coat after the first dries (usually 4–8 hours later).
5. Improve Interior Drainage (If Needed)
- If water seeps from the floor-wall joint or beneath the slab, consider installing a baseboard channel or interior drain tile system—this is advanced DIY and may require breaking up concrete.
- Install or upgrade a sump pump to capture and expel any collected water.
6. Control Humidity
- Set up a dehumidifier rated for your basement’s square footage.
- Ventilate the space with fans during the drying process.
With careful prep and the right tools, these steps can keep a typical basement dry—provided exterior water isn’t overwhelming.
Preventive Maintenance: Keeping Your Basement Dry Year After Year
Monthly and Seasonal Checklist
- Inspect for new cracks or damp spots after heavy rain.
- Test your sump pump by pouring water into the basin—ensure it activates and discharges properly.
- Clean dehumidifier filters and empty the reservoir as needed.
- Check that gutters and downspouts are clear and direct water away from the foundation.
Annual Tasks
- Walk your home’s perimeter each spring and fall; look for signs of soil settling, negative grading, or pooling water.
- Reapply waterproofing paint or membrane every 5–7 years, or as recommended by the manufacturer.
- Have your sump pump professionally serviced before peak rainfall seasons.
Red Flags That Require Immediate Action
- Sudden increase in humidity or musty odors
- Standing water after storms
- Rapidly expanding wall or floor cracks
- Mold growth on drywall, insulation, or framing
Addressing these issues promptly prevents minor problems from becoming major structural headaches.
When to Call a Professional: Limits of DIY Waterproofing
While many homeowners can tackle basic sealing, crack repair, and sump pump maintenance, certain situations call for expert evaluation:
- Persistent Water Intrusion: If your efforts haven’t stopped leaks, the source may be exterior or structural.
- Extensive Mold: Professional remediation is crucial for large or toxic mold outbreaks.
- Major Foundation Cracks: Horizontal or stair-step cracks may indicate structural movement—these require engineering assessment.
- Excavation Needs: Exterior membrane or French drain installation is best left to licensed contractors with the right equipment.
A qualified waterproofing contractor can diagnose complex problems and recommend the most cost-effective long-term solution. Always request multiple quotes and check references before hiring.
Case Study: Achieving a Dry Basement—A Realistic Example
Consider a 1,200-square-foot basement in a 1970s home with recurring dampness along two walls and occasional puddling after heavy rain. The homeowner:
- Inspected and mapped all visible cracks, finding two vertical cracks (1/8 inch wide) and minor efflorescence.
- Repaired cracks with hydraulic cement ($40) and sealed wall-floor joints with polyurethane caulk ($25).
- Applied two coats of waterproofing membrane to affected walls and floor perimeter ($120 for materials and brushes).
- Installed a modern sump pump with battery backup ($450 for pump and basin, DIY install).
- Added a 70-pint dehumidifier ($250) and ran it during humid months.
- Adjusted downspouts to extend 8 feet from the foundation ($35 for extensions).
Total out-of-pocket cost: $920. One year later, the basement remained dry through two major storms, with no new signs of water or musty odors—demonstrating how a targeted, step-by-step approach can deliver lasting results on a budget.
Conclusion: Long-Term Protection Through Proactive Waterproofing
Basement waterproofing is a smart investment that pays dividends in home value, comfort, and peace of mind. By understanding the sources of water intrusion, selecting the right tools and materials, and following proven application steps, you can prevent the headaches and expenses of water damage for years to come. Remember, success starts with a thorough assessment and careful prep—don’t skip the inspection phase or cut corners on surface cleaning. Budget realistically for both materials and possible hidden repairs, keeping a contingency fund for the unexpected. For most homes, a combination of interior sealing, strategic drainage improvements, and vigilant maintenance will keep basements dry and usable. But don’t hesitate to consult a professional for persistent or severe issues—some problems require more than DIY fixes.
Maintenance is ongoing: set reminders to check gutters, test your sump pump, and scan for new cracks after each major storm. Small investments in time and materials today can prevent thousands in future repairs and preserve the value of your biggest asset. With the right knowledge, tools, and approach, basement waterproofing is both achievable and rewarding—your dry, healthy basement will be proof of a job well done.
I’m trying to figure out whether condensation or a leaking pipe is making my basement smell musty. Is there an easy way to tell the difference between high humidity issues versus a plumbing problem from the warning signs you listed?
You can usually tell the difference by checking where the moisture appears. Condensation from high humidity often shows up as dampness on cool surfaces like pipes or walls, especially during humid weather. A leaking pipe usually leaves a specific wet spot or puddle that doesn’t dry out, and you might notice water stains or bubbling paint near plumbing lines. Monitoring when and where the dampness appears can help narrow down the cause.
Can you give more details on how much I should budget for a basic DIY waterproofing project versus hiring a professional? I’m trying to decide if the difference in price justifies doing some of the work myself.
For a basic DIY basement waterproofing project, you can expect to spend around $300 to $1,000 on materials like sealants, crack fillers, and tools. Hiring a professional, depending on your basement size and issues, typically costs between $2,000 and $10,000. If your basement has only minor leaks or moisture, DIY can be cost-effective. However, significant water problems or structural issues are best left to professionals for long-term peace of mind.
You mentioned surface water and groundwater as common sources of basement leaks. How would I tell the difference between the two if I’m just seeing damp spots on my basement floor and a musty smell?
To tell the difference, consider the timing and pattern of the damp spots. Surface water leaks often appear after rain or snowmelt and usually start near walls or windows. Groundwater issues tend to cause persistent dampness, even during dry stretches, and might affect the entire floor. Tracking when the spots appear and checking if they’re worse after heavy rain can help you identify the source.
When it comes to managing basement humidity and condensation, how effective are dehumidifiers compared to improving ventilation? I’m trying to figure out which strategy offers better long-term results for preventing mold and musty odors, especially if I already have some minor dampness.
Dehumidifiers are very effective at reducing humidity and controlling condensation, especially in basements with persistent dampness. However, improving ventilation is equally important, as it helps exchange moist indoor air with drier outdoor air, reducing mold risk long-term. For the best results, a combination of both strategies usually works best. If you already have minor dampness, start with a dehumidifier and enhance ventilation where possible—like adding vents or using exhaust fans—for optimal long-term protection.
Could you clarify what ‘accurate cost breakdown’ means in this context? Are the costs primarily for DIY tools and materials, or do they factor in hiring professionals for more complex waterproofing solutions as well?
In this article, ‘accurate cost breakdown’ refers to a detailed estimate of expenses you might encounter when waterproofing a basement. It includes both the costs for DIY tools and materials, as well as the potential charges for hiring professionals if you need more advanced or large-scale waterproofing solutions. This way, you can compare and budget for either approach based on your needs.
You talk about proactive maintenance to avoid recurring water problems—what does a realistic yearly maintenance routine look like, and about how much should I budget for supplies and minor repairs over time?
A practical yearly basement maintenance routine includes cleaning gutters and downspouts, checking for cracks in walls or floors, inspecting sump pumps, and making sure grading directs water away from the foundation. Plan to clear debris and test your sump pump at least once a year. For supplies and minor repairs like caulk, sealant, or patch kits, budgeting $100–$300 annually is reasonable for most homes, unless you discover larger issues.
The article mentions an accurate cost breakdown for different waterproofing solutions, but I’m trying to stick to a budget. Could you give an idea of what the typical minimum investment would be for basic DIY basement waterproofing that still offers good protection?
For a basic DIY basement waterproofing approach, you can expect to spend around $100 to $300. This usually covers essentials like sealant for cracks, waterproof paint, and basic tools such as a caulking gun and brushes. While this won’t address major water intrusion issues, it provides a solid starting point for protection if you’re on a budget.
You mention that proactive waterproofing can help avoid costly surprises and recurring problems. When budgeting for a project like this, what kind of ongoing maintenance expenses should homeowners realistically expect each year, and are there any tools you strongly recommend investing in for long-term upkeep?
For ongoing basement waterproofing maintenance, homeowners should budget around $100–$300 per year for things like sump pump inspections, cleaning gutters and downspouts, and checking for foundation cracks. If you have a sump pump, consider investing in a battery backup system and a water alarm for early leak detection. A good dehumidifier is also highly recommended to control moisture and prevent mold. These tools and regular checks help ensure your waterproofing system stays effective.
I noticed you mention proactive waterproofing is manageable if you know what to expect. Could you clarify how to determine whether the water issue is coming from surface runoff versus a high water table before starting repairs? I want to make sure I pick the right solution for my basement.
To tell whether your basement water issue is from surface runoff or a high water table, observe when leaks occur—if it happens during heavy rain or snow melt, surface water is likely the culprit. Check for water pooling next to your foundation or overflowing gutters. If water appears even during dry spells or after long periods of rain, a high water table might be involved. Sometimes, marking the water level and noting timing can help you pinpoint the source before choosing your waterproofing method.
If I notice efflorescence and a musty odor but no visible standing water, should I prioritize immediate waterproofing measures or is it safe to focus on improving ventilation and monitoring before investing in major solutions?
Noticing efflorescence and a musty odor suggests moisture is making its way into your basement, even if standing water isn’t visible. Improving ventilation and monitoring are good first steps, but you shouldn’t ignore these early warning signs. If the problem persists or worsens, it’s wise to consult a professional for a thorough assessment before considering major waterproofing work. Early action can often prevent bigger, more expensive issues later on.
If I notice just a faint musty odor but none of the more obvious warning signs like efflorescence or visible mold, should I still take the same proactive steps outlined here, or are there simpler maintenance strategies for early-stage issues?
A faint musty odor can be an early sign of dampness, even if there are no visible symptoms yet. It’s wise to act early. You might start with simple steps like improving ventilation, using a dehumidifier, and checking for minor leaks or condensation. Regularly inspecting your basement for moisture and keeping it dry can help prevent larger problems down the line.
Could you explain more about the maintenance strategies mentioned? For example, are there specific steps homeowners should take each season to prevent issues like efflorescence or mold from coming back even after waterproofing?
Certainly! After waterproofing, homeowners should regularly inspect basement walls and floors for any signs of moisture, efflorescence, or mold. Each season, check and clean gutters and downspouts to ensure proper drainage away from the foundation. Make sure the grading around your home slopes away from the foundation. Use a dehumidifier in humid months and keep vents clear. Promptly repair any cracks or leaks that appear. These seasonal checks help maintain a dry basement and prevent recurring issues.
When you break down the costs of the various waterproofing solutions, do you include ongoing maintenance expenses in addition to the initial installation? I’m trying to get a realistic sense of what to budget over the long term, not just upfront.
Yes, when breaking down the costs of basement waterproofing solutions, it’s important to account for both the initial installation and the ongoing maintenance expenses. The article touches on typical maintenance tasks like inspecting sump pumps and cleaning gutters, which can add to the long-term budget. Factoring in these recurring costs will give you a more accurate picture of total expenses over time, not just the upfront investment.
You mention both proactive waterproofing and maintenance strategies for long-term protection. What would you suggest as a realistic maintenance schedule for homeowners who have already invested in a full waterproofing system? How often should everything be checked?
For homeowners with a full waterproofing system, it’s wise to check all components at least twice a year—ideally in spring and fall. Inspect sump pumps, drains, and wall seals for any signs of wear or blockage. After heavy rains, do a quick visual inspection to spot leaks or moisture. Annual professional inspections are also a good idea to catch hidden issues early and keep the system operating efficiently.
The article talks about sump pumps and plumbing leaks being causes of water problems. If I have an older house and I’m not sure if my sump pump is working well, is it something a DIYer can check and maintain, or should I budget for a professional inspection?
You can check and maintain a sump pump yourself if you’re comfortable with basic DIY tasks. Simple steps include pouring water into the sump pit to see if the pump turns on and inspecting for obvious blockages or electrical issues. However, if the pump is old, showing signs of rust, or you spot anything unusual, it may be safer to have a professional inspection. This ensures the system is reliable, especially in older homes where hidden issues are more likely.