
Introduction: Shedding Light on a Tricky Upgrade
Recessed lighting—also known as can lights or downlights—can instantly update the look and feel of any room. These fixtures provide a clean, streamlined appearance that’s popular in kitchens, living rooms, bathrooms, and even hallways. However, while the finished result can be stunning, installing recessed lighting is a project where small mistakes can lead to big headaches: from uneven illumination to electrical hazards or costly repairs. Whether you’re a seasoned DIYer or a first-timer, understanding the nuances of budgeting, the right tools, safety protocols, and compliance will help you avoid the most common pitfalls. This in-depth guide will walk you through every essential aspect of recessed lighting installation—so you can illuminate your home safely, efficiently, and with professional-looking results.
Understanding Recessed Lighting: Types and Planning
Different Types of Recessed Lights
Before you start, it’s important to know which type of recessed light is right for your space. The main categories include:
- Standard (Line Voltage): Typically uses 120V and is compatible with most home wiring.
- Low Voltage: Uses a transformer to reduce voltage (often to 12V), offering more compact fixtures but requiring additional components.
- LED Integrated: Energy-efficient, often slimmer, and usually last longer than traditional bulbs.
- IC-Rated vs. Non-IC-Rated: IC (Insulation Contact) rated lights are safe to install where insulation is present. Non-IC rated fixtures must be installed in uninsulated spaces to avoid fire risk.
Planning Layout and Spacing
Proper planning is crucial for a balanced, glare-free effect. Common beginner mistakes at this stage include:
- Over-lighting or under-lighting: Too many lights can wash out a room, while too few create shadows.
- Incorrect spacing: A general rule is to divide the ceiling height by two to determine spacing (e.g., 8-foot ceiling = lights every 4 feet).
- Ignoring obstacles: Joists, HVAC ducts, and plumbing can interfere with placement.
Sketch out your room, mark planned fixture locations, and use a stud finder to check for obstructions before committing to any cuts.
Budget Breakdown: What to Expect
Material Costs
The cost of materials depends on the type and number of lights, as well as the quality of fixtures. Here’s a typical breakdown:
- Recessed light cans: $10–$40 each
- LED retrofit kits: $15–$30 each
- Wiring and connectors: $0.25–$0.50 per foot
- Switches (including dimmers): $10–$40
- Miscellaneous (hangers, mounting brackets, junction boxes): $20–$50 total
For a standard living room with six lights, expect materials alone to total between $150 and $400, depending on your choices.
Tool Costs
Some tools are likely already in your DIY arsenal, but a few may require purchase or rental:
- Hole saw or drywall saw: $15–$30
- Voltage tester: $10–$20
- Wire stripper: $10–$25
- Cordless drill: $50–$150 (if you don’t already own one)
- Extension ladder: $50–$100 (purchase) or $20/day (rental)
- Safety gear (gloves, goggles, dust mask): $20–$40
Budget an additional $100–$200 for tools if you need to acquire new ones.
Hidden and Unexpected Costs
- Repairing drywall: If mistakes are made, patching and painting may be necessary ($20–$100).
- Upgrading wiring or circuit breakers: Older homes may require electrical upgrades ($100–$500+).
- Permits: Some municipalities require permits for electrical work ($50–$200).
Always build a 10–20% contingency into your budget for surprises.
Compliance and Permits: What You Need to Know
When Permits Are Required
Most jurisdictions require a permit for any new electrical work, including adding lighting circuits. Skipping this step can lead to denied insurance claims or issues when selling your home. Check with your local building department before starting.
Electrical Code Essentials
- Wire gauge: Use the proper gauge (usually 14/2 or 12/2 NM cable) as specified by code.
- Box fill calculations: Ensure electrical boxes are not overfilled with wires and connectors.
- GFCI/AFCI protection: These may be required in kitchens, bathrooms, or older homes.
If you’re unsure about code requirements, consult an electrician or your permit office.
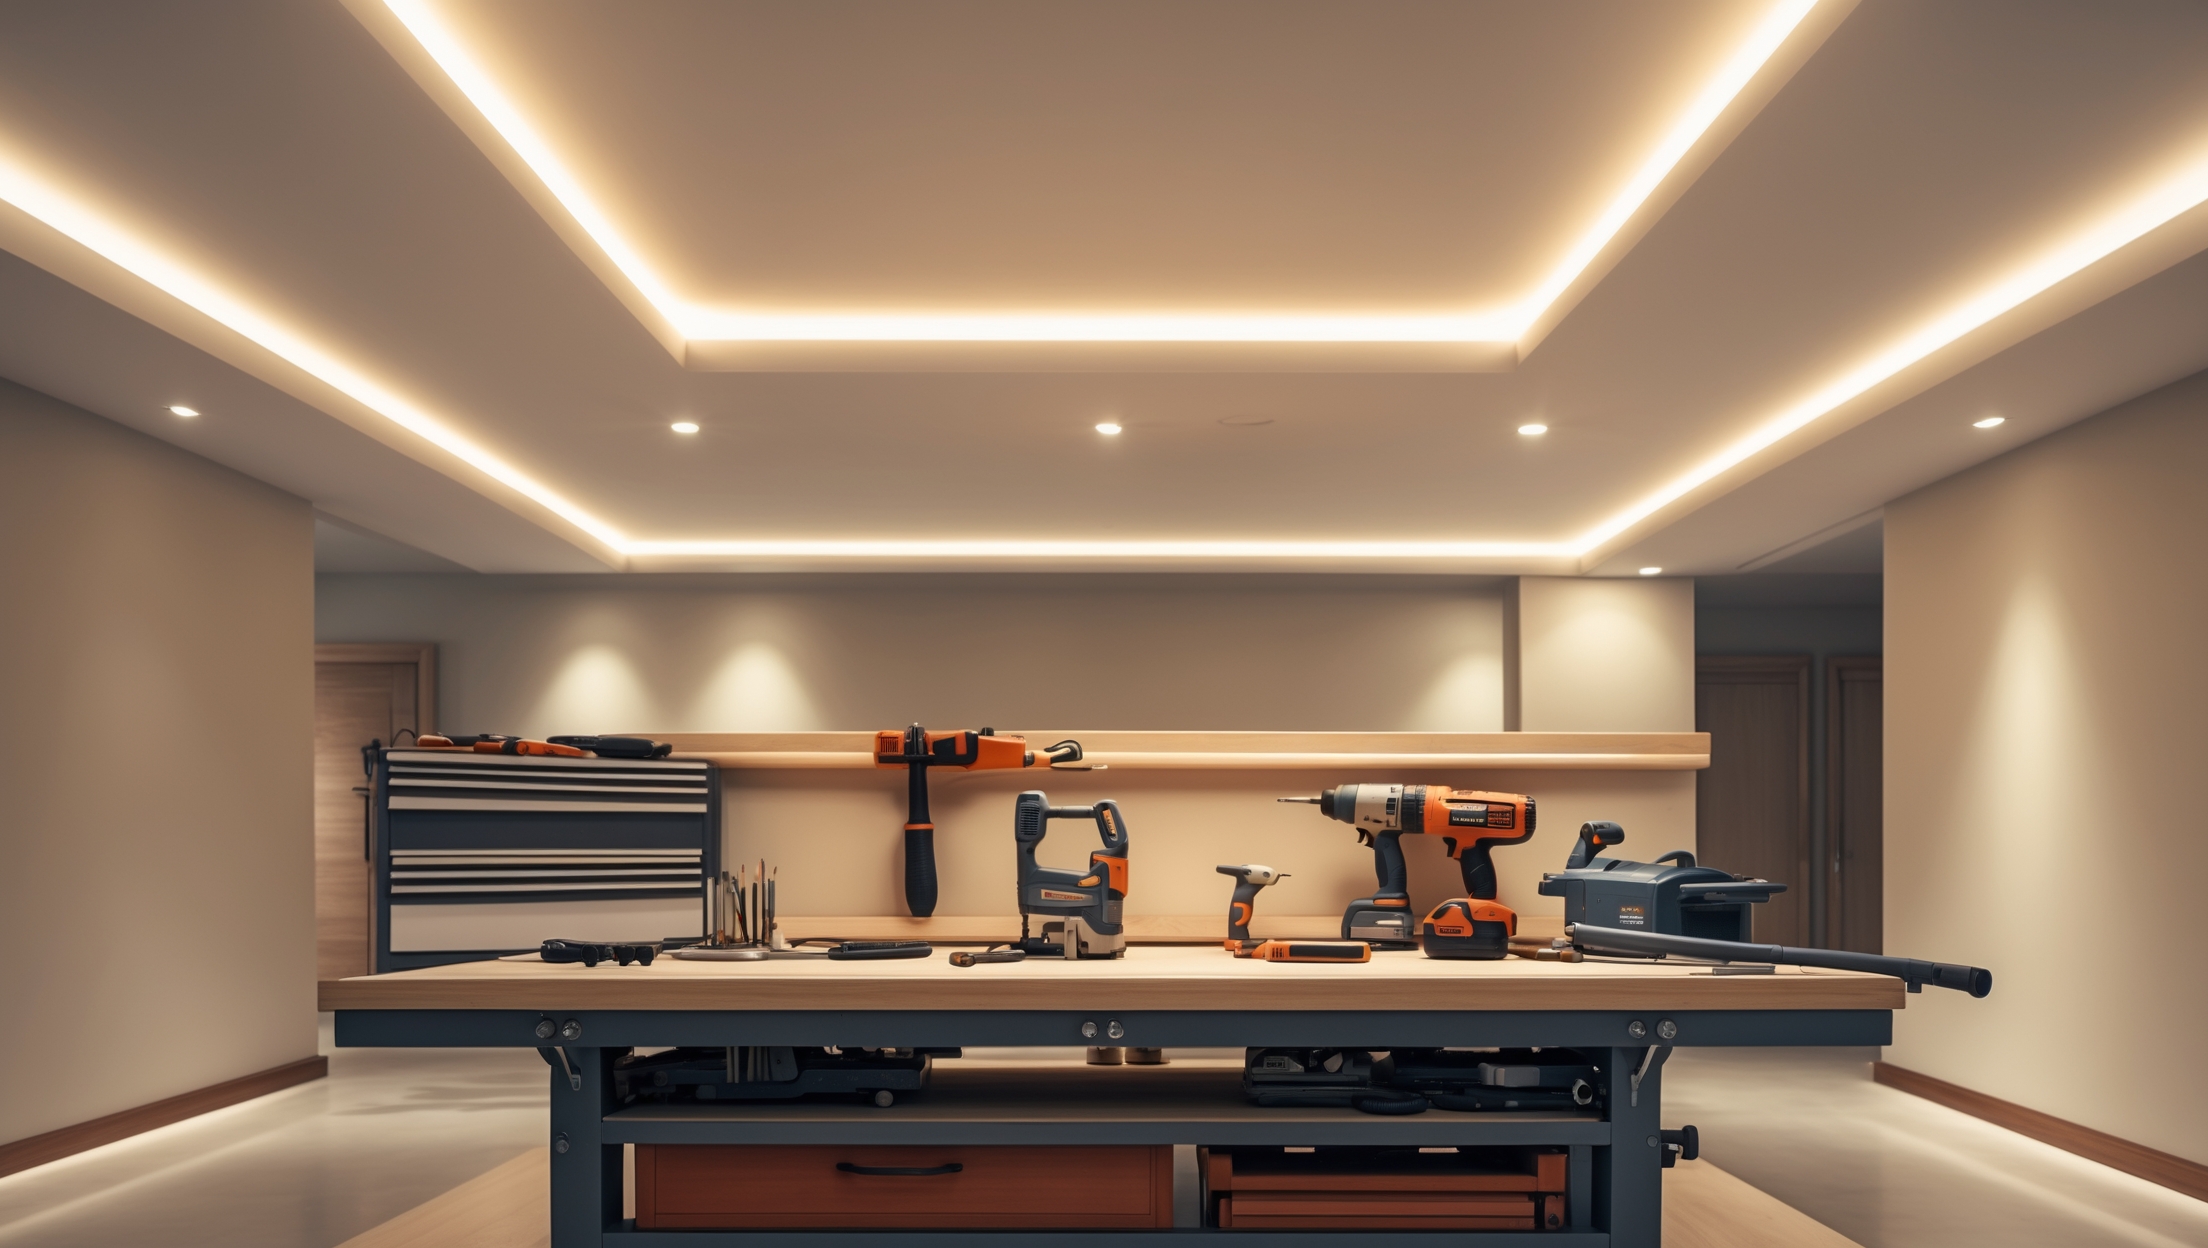
Essential Tools and Equipment Guide
Must-Have Tools
- Stud finder: To avoid cutting into framing or hidden utilities.
- Hole saw or adjustable drywall saw: For cutting clean holes in the ceiling.
- Wire stripper/cutter: For prepping electrical wires.
- Voltage tester: To verify circuits are off before working.
- Drill and bits: For mounting and running wires.
Safety and Support Equipment
- Extension ladder: For safe access to ceilings.
- Goggles and dust mask: Prevents dust and debris from harming eyes and lungs.
- Work gloves: Protects hands from sharp edges and insulation.
- Drop cloths: Protects furniture and floors from dust and debris.
Step-by-Step Installation Tutorial
Step 1: Turn Off Power
Always turn off the breaker for the lighting circuit at the main panel. Test with a voltage tester to confirm that the power is off before proceeding.
Step 2: Mark and Cut Openings
- Use your layout plan to mark the center of each light location.
- Use a stud finder to check for joists or obstructions.
- Cut holes with a hole saw or drywall saw. Take your time—measure twice, cut once.
Step 3: Run Electrical Wiring
- Feed wire from the switch location to each light location. Use fish tape for difficult runs.
- Leave extra length at each opening for easy handling.
- If running wire through joists, drill holes at least 1.25 inches from the edge to avoid nails or screws penetrating the wire.
Step 4: Connect Fixtures
- Strip wires and connect them to the fixture’s leads using wire nuts. Match black (hot), white (neutral), and ground wires.
- Follow manufacturer instructions for each fixture. Improper connections can cause flickering or failure.
- Secure the fixture in the ceiling according to the mounting system.
Step 5: Install Switch and Test
- Install the switch or dimmer at the wall box. Connect wires per code and manufacturer’s instructions.
- Restore power and test each light individually.
Step 6: Finish Up
- Patch any accidental damage to drywall with spackle and touch-up paint.
- Clean up dust and debris before replacing furniture or decor.
Safety Checklist: Avoiding Injury and Hazards
- Always turn off power at the breaker, not just the switch.
- Use a voltage tester on all wires before touching.
- Wear eye and respiratory protection when cutting drywall or working overhead.
- Don’t overload electrical circuits—calculate total wattage.
- Use IC-rated fixtures when installing near insulation to prevent fire risk.
- Never splice wires outside of an approved electrical box.
- Have an assistant for ladder work—don’t overreach or work alone at height.
Common Mistakes and How to Avoid Them
- Poor layout planning: Leads to uneven lighting or missed obstacles.
- Cutting holes too close to joists: Results in unusable holes or structural damage.
- Using non-IC-rated fixtures in insulated ceilings: A serious fire hazard.
- Ignoring code requirements: Can cause insurance or resale issues.
- Overloading circuits: Leads to tripped breakers or potential electrical fires.
- Skipping permits: May require costly rework if discovered during inspection or sale.
- Poor wire connections: Causes flickering lights, shorts, or fire.
Maintenance Best Practices
Once your recessed lighting is installed, a few simple habits will keep your system safe and looking its best:
- Dust fixtures regularly: Prevents overheating and maintains brightness.
- Check for flickering: Flickering or dimming can indicate a loose connection or failing bulb.
- Inspect insulation contact: Make sure insulation isn’t pushed against non-IC fixtures.
- Replace bulbs with matched wattage and type: Avoid overheating and maximize efficiency.
- Monitor for tripped breakers: Repeated trips signal an overloaded circuit or wiring issue—address promptly.
Conclusion: Bright Results Through Careful Planning
Installing recessed lighting can elevate your home’s ambiance and functionality, but success hinges on thorough preparation and respect for electrical safety. From budgeting for quality fixtures and tools to securing the right permits and following code, every step matters. By mapping your layout with care, double-checking for obstacles, and using the proper IC-rated fixtures, you’ll avoid costly mistakes and achieve a professional finish. Always prioritize safety—turn off power, use the right gear, and test everything before closing up. If you’re ever in doubt, don’t hesitate to consult a licensed electrician; the minor upfront cost is worth the peace of mind. With the insights and best practices shared here, you’ll not only save time and money but also enjoy the satisfaction of a home improvement done right. Let your new lighting shine as a testament to your planning, skill, and attention to detail!
Could you clarify the difference between IC-rated and non-IC-rated fixtures? My attic has some insulation, and I’m not sure if it’s safe to use non-IC lights or if I need to change my plan.
IC-rated (Insulation Contact) fixtures are specifically designed to be safely installed in contact with insulation without overheating. Non-IC-rated fixtures, on the other hand, must have at least three inches of clearance from any insulation to prevent fire risks. Since your attic contains insulation, it’s important to use IC-rated fixtures to ensure safety and meet code requirements.
When figuring out the layout, if my kitchen is an odd shape, is spacing the recessed lights every half ceiling height still the best approach? Or are there exceptions for rooms with bump-outs or islands?
For kitchens with unusual shapes, bump-outs, or islands, the standard rule of spacing lights at half the ceiling height is just a starting point. In these cases, you may need to adjust placements to highlight work areas, illuminate islands, or avoid dark spots. Consider your kitchen’s specific features and task zones, and feel free to break from uniform spacing if it results in better lighting coverage.
When it comes to budgeting for recessed lighting, do you have any tips for estimating the total cost, including tools and possible electrical upgrades? I want to avoid missing hidden expenses before I start planning my project.
To estimate your total cost for recessed lighting, start by counting the number of fixtures and checking their prices. Include costs for switches, dimmers, and any trim options you want. List out necessary tools—such as a drill, hole saw, voltage tester—which you may need to buy or rent. Don’t forget wiring, connectors, and junction boxes. If your home’s electrical system is older, budgeting for a professional electrician to check and possibly upgrade circuits is wise. Always add a buffer (around 10–20%) for unexpected expenses to avoid surprises.
For someone trying to stick to a tight budget, are there particular tools or steps in the installation process where it actually makes sense to invest a bit more, either for safety or better long-term results?
When working with a tight budget, it’s smart to invest in quality electrical tools like a voltage tester and wire strippers since they improve safety and accuracy. Don’t skimp on good-quality recessed lighting cans and junction boxes either—these ensure the lights last and operate safely. Steps involving electrical connections and cutting into ceilings are especially important for both safety and a professional finish, so careful planning and the right tools here really pay off in the long run.
You mentioned dividing ceiling height by two to find the right spacing for the lights. Is this guideline the same for all types of bulbs, like LEDs versus traditional, or do certain lights need to be spaced differently?
The guideline of dividing ceiling height by two is a general starting point, but bulb type can affect ideal spacing. LEDs often emit light more efficiently and evenly than traditional bulbs, so you might be able to space LED recessed lights a bit farther apart without losing coverage. Consider also the beam angle and brightness of your chosen fixtures, as narrow beams or lower wattages might require closer spacing for even illumination.
When figuring out the overall budget for a project like this, about how much extra should I set aside for those unexpected issues that always pop up, like finding old wiring or needing different tools than I planned?
It’s wise to set aside an extra 10–20% of your estimated project budget to handle unexpected issues like outdated wiring or last-minute tool purchases. This cushion can help avoid delays and stress if surprises come up during installation. Reviewing the current state of your electrical system before starting can also help you better anticipate possible expenses.
When planning the spacing for recessed lights in a living room with a sloped ceiling, does the rule about dividing ceiling height by two still apply, or do you have to do something different to ensure even lighting?
With sloped ceilings, you usually need to adjust the standard spacing rule. Instead of simply dividing the ceiling height by two, consider the angle of the slope and where the light will actually land. You may need to place fixtures a bit closer together, ensuring the light spreads evenly across the space and avoids dark spots. Also, aim the lights perpendicular to the floor rather than the ceiling for best results.
The spacing rule you mentioned—dividing ceiling height by two—sounds helpful, but what if the room has an unusual shape or there are obstacles like ceiling fans? How do you adapt the layout in those scenarios?
When a room has an unusual shape or obstacles like ceiling fans, you’ll want to adjust the standard spacing rule for recessed lights. Focus on even lighting coverage by first identifying any obstacles and mapping out your primary lighting needs. You might need to shift some fixtures closer together or farther apart to avoid shadows or interference. In tricky spots, consider using adjustable recessed lights or supplementing with wall sconces if needed.
When planning the layout for recessed lighting, you mentioned dividing the ceiling height by two to determine spacing. Is this guideline suitable for all room shapes, or should I adjust for narrow or oddly shaped rooms?
Dividing the ceiling height by two is a helpful starting point for standard rectangular rooms, but for narrow or unusually shaped spaces, it’s often best to adjust the spacing. In long, narrow rooms or irregular layouts, you may want to bring the lights closer together or tailor the arrangement so lighting is even and there are no dark spots. Always consider the specific dimensions and purpose of the room when planning your layout.
You mentioned that over-lighting is a common mistake, but how do you figure out the right number of recessed lights if you want to mix them with other light sources like lamps or pendants in the same room?
To balance recessed lights with lamps or pendants, first decide the room’s main activities and total brightness you want. Use fewer recessed lights than you would if they were the only source—space them farther apart. Plan your layout with zones in mind, letting lamps or pendants cover key areas like reading nooks or dining tables, and use dimmers so you can adjust brightness as needed.
When it comes to budgeting for this kind of upgrade, are there certain types of recessed lights from your list that tend to add unexpected costs during installation, like special transformers for low voltage models or additional wiring needs?
Yes, low voltage recessed lights can raise your installation costs since they usually require a special transformer and possibly more complex wiring. IC-rated or airtight models might also cost more if your ceiling structure needs modifications. If you choose smart or dimmable fixtures, you may need compatible switches or wiring, which can add to the budget. It’s wise to review each fixture’s requirements before buying to avoid unexpected expenses.
You say to divide the ceiling height by two to figure out spacing for the lights. Would that rule change for rooms with sloped ceilings or vaulted spaces, or is there a different guideline for those situations?
For sloped or vaulted ceilings, the standard rule of dividing the ceiling height by two is less reliable because the height varies across the room. Instead, measure from the floor to where the fixtures will actually be installed, and use that height for your calculations. You might also need to adjust placement to ensure even lighting and avoid creating shadows or overly bright spots due to the angle of the ceiling.
For someone living in an older house with existing insulation, how do I determine if I need IC-rated fixtures, and is there an easy way to tell what kind of insulation is up there before cutting into the ceiling?
If your recessed lights will touch or be near insulation, you’ll need IC-rated fixtures for safety and code compliance. To check your attic insulation type, look in any accessible attic space above the room—fiberglass batts look fluffy and pink or yellow, while loose-fill is granular. If you can’t access the attic, try removing an air vent or light fixture to peek at the insulation before cutting the ceiling.
When planning the layout, do you recommend any specific tools or apps to help map out light placement, especially for tricky room shapes? I sometimes struggle to get even spacing and avoid dark spots in corners.
For mapping out recessed lighting layouts, using a room layout or design app can be really helpful. Many people find apps like RoomSketcher, MagicPlan, or even basic grid paper useful to visualize the space and test different placements. Additionally, a laser measure and painter’s tape can help you mark potential fixture spots on the ceiling before installation, which helps ensure even spacing and good coverage, especially in irregularly shaped rooms.
I see that you recommend dividing the ceiling height by two to figure out recessed light spacing. For a living room with some angled ceilings and a mix of areas, do you have tips for adapting that rule when it’s not a standard rectangular space?
When dealing with angled ceilings or irregularly shaped rooms, use the ‘half ceiling height’ rule as a starting point but adjust according to the space layout. For angled areas, follow the slope and measure spacing along the ceiling surface, not the floor. In mixed or open zones, focus on achieving even light coverage by clustering lights where more illumination is needed and spacing them wider apart in less-used corners. Sketching out the room and planning different light zones can help you adapt the guideline to your unique layout.
The guide suggests dividing the ceiling height by two to figure out the spacing between lights. Are there situations where this rule doesn’t work well, like oddly shaped rooms or open floor plans, and how would you adjust the layout in those cases?
You’re right—dividing the ceiling height by two is just a starting point. In rooms with unusual shapes, open floor plans, or areas needing specific lighting (like kitchen islands or reading nooks), you might need to adjust spacing for even coverage or to highlight features. Consider using a lighting layout plan, grouping lights in functional zones, or varying spacing to suit the room’s shape and purpose.
The article mentions that over-lighting can wash out a room while under-lighting creates shadows. Do you have any tips for adjusting the lighting plan if the furniture layout changes in the future, or would that require moving the fixtures?
If your furniture layout changes, you might not need to move the recessed fixtures right away. You can often adjust the atmosphere by using dimmer switches, adding floor or table lamps, or using adjustable bulbs. However, if you notice persistent shadows or overly bright spots due to the new layout, relocating or adding recessed lights could give you better, more even coverage.
When it comes to budgeting, are there significant cost differences between installing standard line voltage fixtures versus the newer LED integrated options? And are there any hidden expenses I should plan for with one type over the other?
There are some key cost differences. Standard line voltage fixtures are usually cheaper upfront, but LED integrated options can cost more initially due to the fixture and driver. However, LEDs use less energy and last longer, so you’ll save on electricity and maintenance over time. Hidden expenses to watch for include needing compatible dimmers for LEDs, potential electrical upgrades, and higher replacement costs if an integrated LED fails, since the whole fixture may need to be replaced.
You mention dividing the ceiling height by two to figure out how far apart to space recessed lights. What if my room isn’t a perfect rectangle or has vaulted ceilings? Is there a different rule for figuring out where to put lights in odd-shaped rooms?
For rooms that aren’t rectangular or have vaulted ceilings, you can still use the ceiling height divided by two as a starting point, but you’ll need to adapt. In irregular rooms, focus on evenly distributing light where it’s needed—highlight main areas, like seating or workspaces. For vaulted ceilings, consider placing lights along the slope, aiming them to avoid shadows. Sketching your room and marking key spots before installation helps ensure balanced lighting.
If my home has insulation in the ceiling but the existing wiring is older, should I prioritize installing IC-rated lights, or is there another safety step I should consider before starting the project?
If your ceiling has insulation and older wiring, it’s important to prioritize both IC-rated (Insulation Contact) fixtures and a wiring safety check. IC-rated lights are essential to prevent overheating when surrounded by insulation. Before starting, however, have a qualified electrician assess your existing wiring to ensure it can safely handle new fixtures and meets current electrical codes. This step is crucial for both safety and performance.
For someone tackling recessed lighting for the first time, what safety protocols do you recommend most strongly if my attic has insulation and I’m not sure if it’s safe to move it around? Are there visual signs to check before installing IC-rated lights?
When working in an attic with insulation, always turn off the power at the breaker before starting. Wear gloves, a mask, and long sleeves to protect yourself from insulation fibers. If unsure about moving insulation, avoid disturbing it until you know whether it’s fiberglass, cellulose, or potentially hazardous like asbestos. For installing IC-rated lights, check that there’s no visible moisture, mold, or damaged insulation in the area. IC-rated fixtures can safely contact insulation, but make sure the insulation is dry and intact before proceeding.
I’m planning my layout based on your ceiling height suggestion, but my room has a few odd corners and a partial wall. Should I stick to the spacing rule throughout, or is there a better way to handle unconventional room shapes to avoid shadows and dark spots?
In rooms with unusual shapes or partial walls, it’s best to use the standard spacing rule as a baseline, but adjust where needed. For odd corners or areas by partial walls, you can move fixtures closer together or add an extra light to prevent shadows. Aim to balance even coverage while highlighting tricky areas, so your lighting feels consistent throughout the whole room.
I noticed you mentioned that over-lighting a room is a common mistake with recessed lights. Is there a good way to figure out how many fixtures I actually need for an oddly shaped living room so I don’t end up with too much or too little light?
To determine the right number of recessed lights for an oddly shaped living room, start by measuring the room’s dimensions and noting any alcoves or irregularities. A practical rule is to space fixtures about 4 to 6 feet apart and place them about 2 to 3 feet from the walls. Divide the room into zones if needed, and consider the lighting purpose—general, task, or accent. Using a simple lighting calculator can also help estimate fixture count based on room size and desired brightness.
Could you clarify what safety steps are necessary if my ceiling has insulation and I’m not sure whether to use IC-rated or non-IC-rated fixtures? I want to avoid any fire hazards during installation.
If your ceiling has insulation, you should use IC-rated recessed lighting fixtures. IC stands for ‘insulation contact,’ and these fixtures are designed to safely touch insulation without causing overheating or fire risks. If you’re unsure, choose IC-rated fixtures to be safe. Also, always turn off the power at the breaker before starting installation, and keep all wiring connections secure and up to code.
You talked about budgeting for recessed lighting installs, but what hidden costs should I watch out for beyond the fixtures and tools themselves? Are there common expenses people often overlook, especially regarding wiring or code upgrades?
Hidden costs can include hiring a licensed electrician if your wiring needs upgrades to meet current codes, which may be required in older homes. You might also need to patch and repaint drywall after installation, and purchase extra wiring or junction boxes if your layout changes. Don’t forget potential permit fees from your local building department, as some areas require inspection for electrical work.
You mentioned dividing ceiling height by two for spacing the lights. How does this rule change for oddly shaped rooms or open-concept spaces where there aren’t straight walls to measure from?
In oddly shaped rooms or open-concept spaces, use the ceiling height divided by two as a general guideline, but adjust placement based on your room’s layout and lighting needs. Focus on illuminating key areas like seating or workspaces, and aim for even coverage rather than strict uniform spacing. You might need to experiment with positioning to avoid dark spots or overly bright areas.
For budgeting purposes, are there any hidden costs people tend to overlook when buying tools or components for recessed lighting, especially with low voltage versus standard setups?
When budgeting for recessed lighting, people often overlook costs like specialized low-voltage transformers, compatible dimmers, or dedicated junction boxes, especially for low voltage setups. You might also need extra wiring or connectors, and sometimes even patching materials for drywall. Don’t forget to factor in safety gear and the possibility of renting tools if you don’t already own them.